Popular Games
 All Games





Delta Force nuclear free world Guide: AZ3 Nuclear Power Plant Secret Ending
2026-07-24



The nuclear free world route, often searched as the Nuclear-Free World achievement, is one of the most satisfying objectives in Delta Force because it asks for discipline rather than raw firepower. On the AZ3 Nuclear Power Plant Operations map, the play is simple to describe and hard to execute under pressure: complete the five-reactor shutdown path, avoid locking the team into the competing Emergency Shutdown outcome, stabilize the radiation state, and still leave the raid alive. Check out this guide for the new map Nuclear Power Plant AZ3 in Delta Force Season 10.
This guide treats the route as an objective run first and a loot run second, which is the mindset that makes it repeatable.
nuclear free worldr
| Guide focus | What it means in practice |
| Primary goal | Deactivate all five reactor consoles, complete the shutdown state, bring radiation down, and extract alive. |
| Map and mode | AZ3 Nuclear Power Plant in Delta Force Operations during Season 10 / S10 Fission. |
| Achievement name | nuclear free world, commonly searched as Nuclear-Free World. |
| Decision point | Do not commit to Emergency Shutdown when attempting the peaceful reactor route. |
| Best team shape | A pre-briefed duo or squad with one caller, divided approach lanes, and a conservative extraction plan. |
The non-negotiable principle is that every action must serve the ending. The instant a team lets the run become an improvised brawl, a key hunt, or a last-minute loot sweep, the route loses its rhythm. A successful clear feels almost boring in the best way: clear calls, quick console work, a short regroup, then extraction before the map decides your plan for you.
How the nuclear free world Route Works
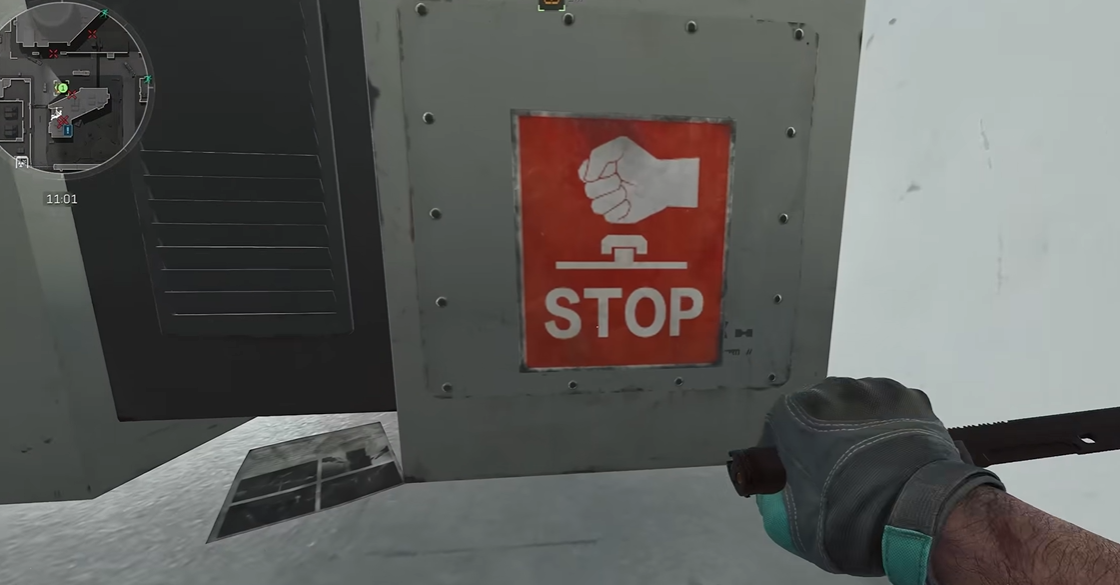
The peaceful path is built around five Reactor Consoles spread across the AZ3 Nuclear Power Plant. Each completed console moves the run toward the automated shutdown state and the zero-radiation objective. The reward is not just the hidden achievement; it is the clean extraction narrative associated with choosing de-escalation over the explosive alternative. That contrast is why the route has more personality than a standard checklist.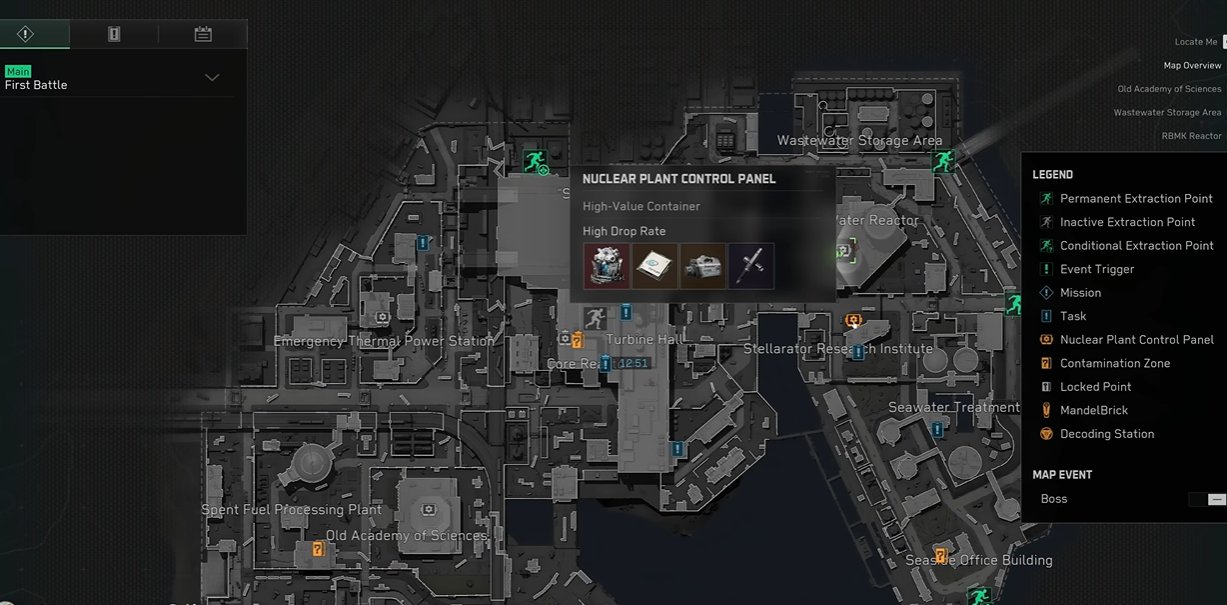
The decisive fork is the Emergency Shutdown objective. If the team is targeting nuclear free world, treat the emergency branch as a red line rather than a tempting shortcut. Before deployment, tell everyone exactly which ending is in scope. This one sentence prevents more resets than any weapon choice: 'Five shutdown consoles, no Emergency Shutdown, extract together.'
Prepare for an Objective Run, Not a Highlight Reel
Bring a kit that can survive awkward travel and brief close-range pressure, but do not over-insure the run with a loadout so expensive that every decision becomes a loot argument. In my view, the best nuclear free world kit is one that makes the team mobile, audible, and emotionally willing to leave. Extraction games punish attachment; this route punishes it twice.
- Assign one caller to confirm the ending choice, console count, regroup point, and extraction timing.
- Carry enough healing and radiation recovery for transit mistakes, not a fantasy of holding the reactor area indefinitely.
- Use a simple two-lane plan in a duo or squad. Parallel work beats a long single-file tour of the map.
- Make the team rule explicit before the first door opens: no speculative interaction with the competing Emergency Shutdown branch.
Five Reactor Console
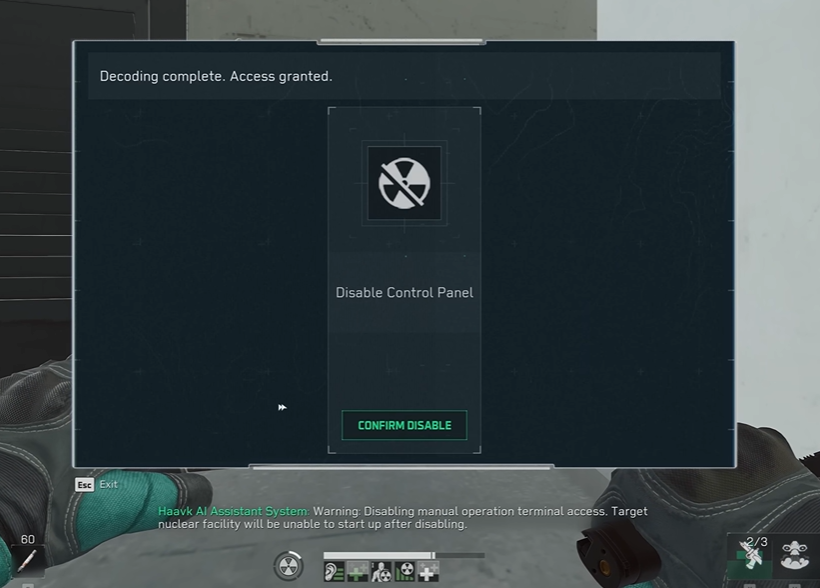
The exact order should flex with spawn side, enemy presence, and the extraction clock, but the five locations below create a reliable mental map. At each Reactor Console, finish the required shutdown interaction, confirm that the console has registered, and call the count immediately. Do not trust memory after a fight. A calm 'three of five confirmed' is better than a fast but uncertain rotation.
| No. | Console area | Route judgment |
| 1 | Outer parking lot utility building | Clear the opening approach first. It is the cleanest first task for the western spawn side. |
| 2 | Administration Building, Level 2 control room | Use it as a route checkpoint, not a loot detour. Pause long enough to finish the interaction cleanly. |
| 3 | Underground passage radiation buffer | Enter with a committed path and leave immediately after the console confirms. Lingering turns a controlled transit into a third-party fight. |
| 4 | Core pit / main reactor area | Treat this as the high-risk anchor. Have the team cover entry angles before the interaction, especially around the H1000 room. |
| 5 | West auxiliary ventilation tower control room | A strong parallel objective for the second player or a late western sweep before the regroup. |
Console interactions are the vulnerable moments. The player at the panel needs protection, but the bodyguards also need a limit: protect the interaction, then move. Holding a completed console area too long invites a trade that is strategically meaningless. In this route, time is not merely money; it is the enemy's chance to discover your pattern.
From Spawn to Clean Extraction
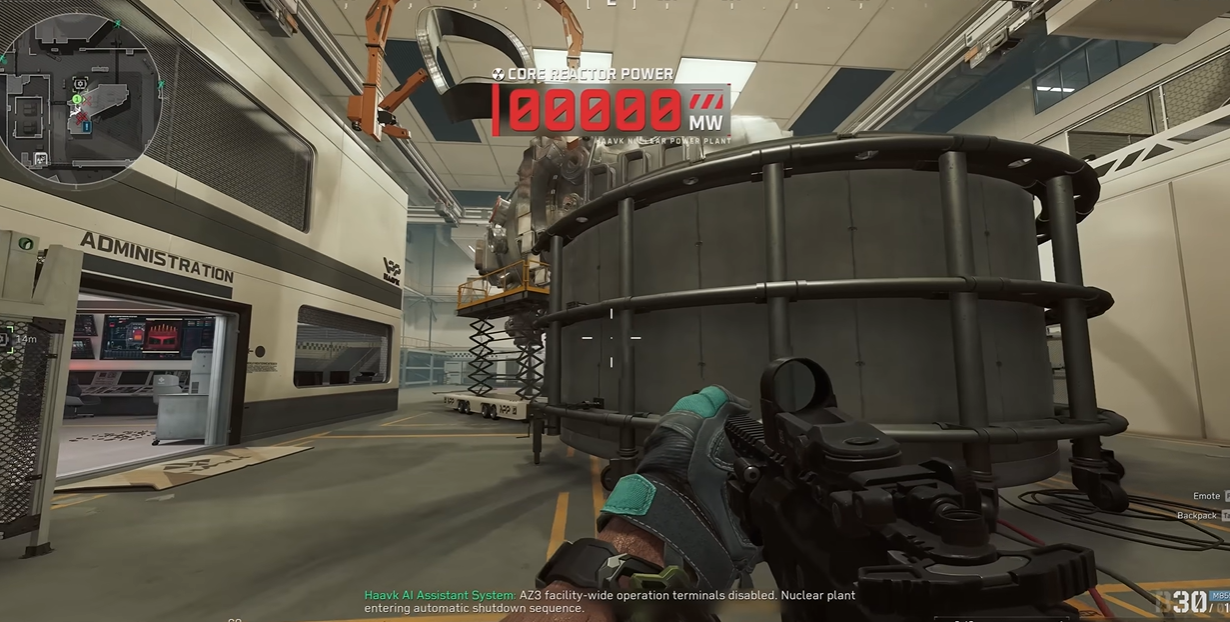
- Confirm the ending plan at spawn. State that the team is pursuing nuclear free world and is avoiding Emergency Shutdown.
- Split responsibilities by geography. A western player can cover the parking lot, Administration Building, and underground buffer; the second player can work the ventilation side and plan a safe entry to the core.
- Complete each Reactor Console deliberately. Call the console number, protect the interaction, confirm it, and rotate. Do not leave the team guessing whether a panel was actually finished.
- Treat the core pit as a commitment. Clear the immediate approach, do the reactor interaction, and leave through the pre-agreed exit instead of reopening the same lanes.
- After all five consoles are complete, regroup and check the Radiation state. This is the moment to choose extraction, not to begin a second map tour.
- Extract as a team. A clean shutdown without a successful extraction is not the finish line the route is built for.
Loot, Combat, and the Discipline to Leave
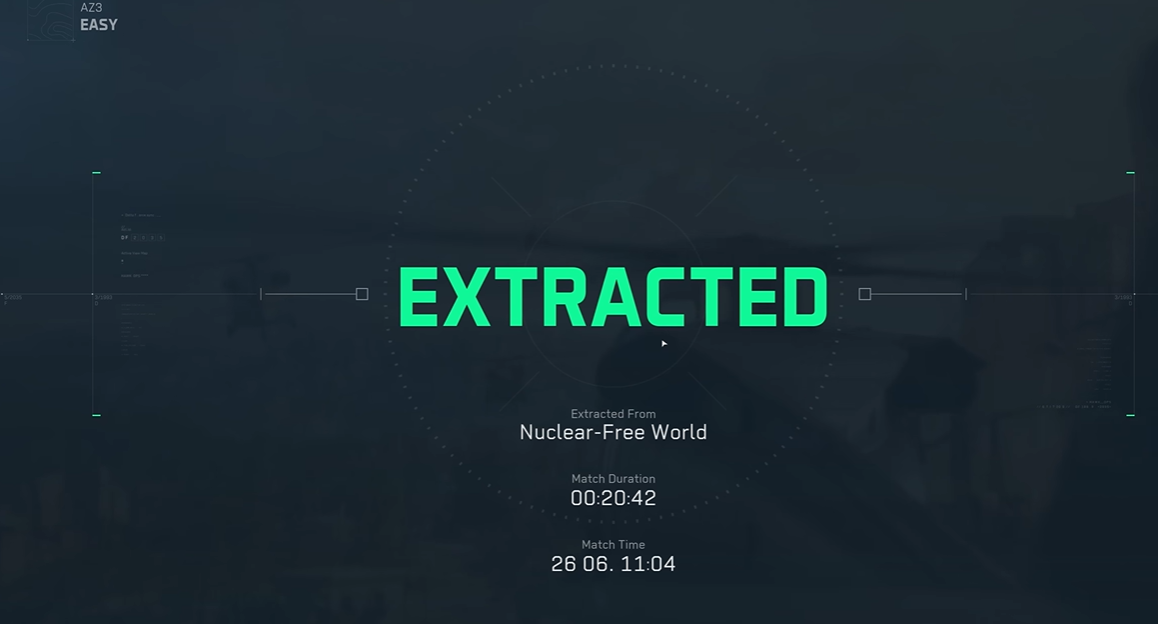
The hardest decision is rarely the fifth console. It is deciding whether a nearby vault, key room, or late firefight is worth delaying the ending. My recommendation is blunt: once the final console is complete, only take loot that sits naturally on the extraction line. Anything that requires a detour should be treated as a new raid, not a bonus to this one.
You do not need to pretend the map is a no-combat zone. Fight when survival or a route chokepoint demands it. What you should avoid is turning every contact into a chase. A short defensive engagement that preserves the route is good Operations play; a prolonged pursuit around reactor territory is usually ego disguised as confidence.
Solo Queue and Squad Strategy
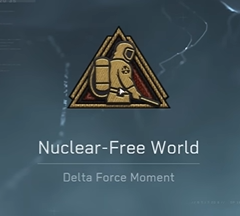
A coordinated squad has the cleanest odds because it can parallelize the map and protect interactions. A duo is often the sweet spot: enough coverage to split the route, few enough people to avoid a long debate at every terminal. Full squads work well only when one person owns the calls. Too many 'helpful' route suggestions can turn a straightforward shutdown into a slow, noisy procession.
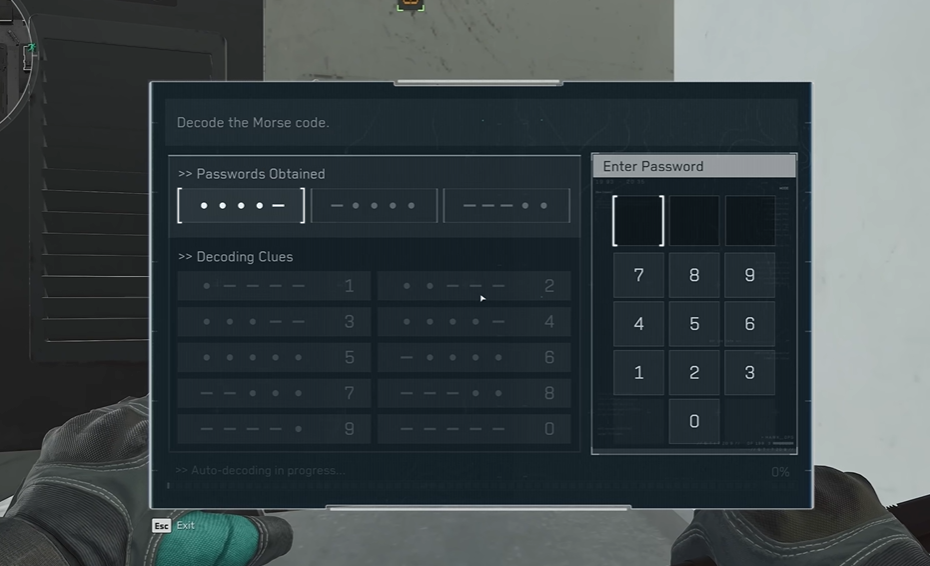
In random matchmaking, announce the objective immediately in short, unambiguous language. Mark the next area rather than explaining the whole map. If teammates do not cooperate, preserve your own route and do not take a reckless fight merely to police them. The practical goal is to reduce surprise, not to win an argument in voice chat.
Common Mistakes That Reset Good Runs
- Taking the Emergency Shutdown branch before the team has committed to nuclear free world.
- Completing four Reactor Consoles and rotating to extract without verifying the missing fifth location.
- Letting a completed interaction become a long loot stop or an open-ended PvP chase.
- Entering the core pit without an exit call, then trying to improvise after the panel is done.
- Treating radiation recovery as a substitute for route discipline. Consumables buy seconds; they do not fix a bad plan.
- Forgetting that extraction is part of the achievement run. The clean ending needs a clean finish.
FAQ
Can I complete nuclear free world in a random squad?
Yes, but communication is the real difficulty. State the nuclear free world objective early, keep calls short, and use map marks to show the next Reactor Console. A pre-made duo remains the more consistent option.
Do I have to avoid every fight?
No. Survival still matters in Operations. Fight defensively when the route is blocked, then disengage once the team has space to continue. The route fails more often from needless detours than from necessary combat.
What is the difference between nuclear free world and Emergency Shutdown?
They are competing outcome paths on the AZ3 Nuclear Power Plant. The nuclear free world route is the controlled five-console shutdown and clean-extraction play; Emergency Shutdown is a different reactor outcome and should be avoided for this achievement attempt.
Does the route change between updates?
It can. Season content, interaction prompts, extraction rules, and map flow can be adjusted. Before a serious attempt, confirm that your live Season 10 build still presents the same console and ending conditions, then follow the objective logic in this guide rather than relying on a stale speedrun path.
Conclusion: Win the Quiet Way
The Delta Force nuclear free world secret ending is memorable because it rewards a rare instinct in an extraction shooter: restraint. On the AZ3 Nuclear Power Plant, your team does not need to dominate the lobby. For more Delta Force intel, deep-dive guides, and the latest leaks — bookmark the Delta Force page on BuffBuff.
It needs to make five clean decisions, protect the route, resist the bait of unnecessary loot, and leave when the objective is complete. Build the plan around those choices and the Nuclear-Free World achievement becomes far less mysterious - and far more repeatable.

Delta Force is a modern first person shooter that combines extraction raids with large team objective battles.