Popular Games
 All Games





Delta Force Golden Bird Nest Guide: Easter Egg, All 8 Secret Protocol Crates & Clockwise Order
2026-07-22



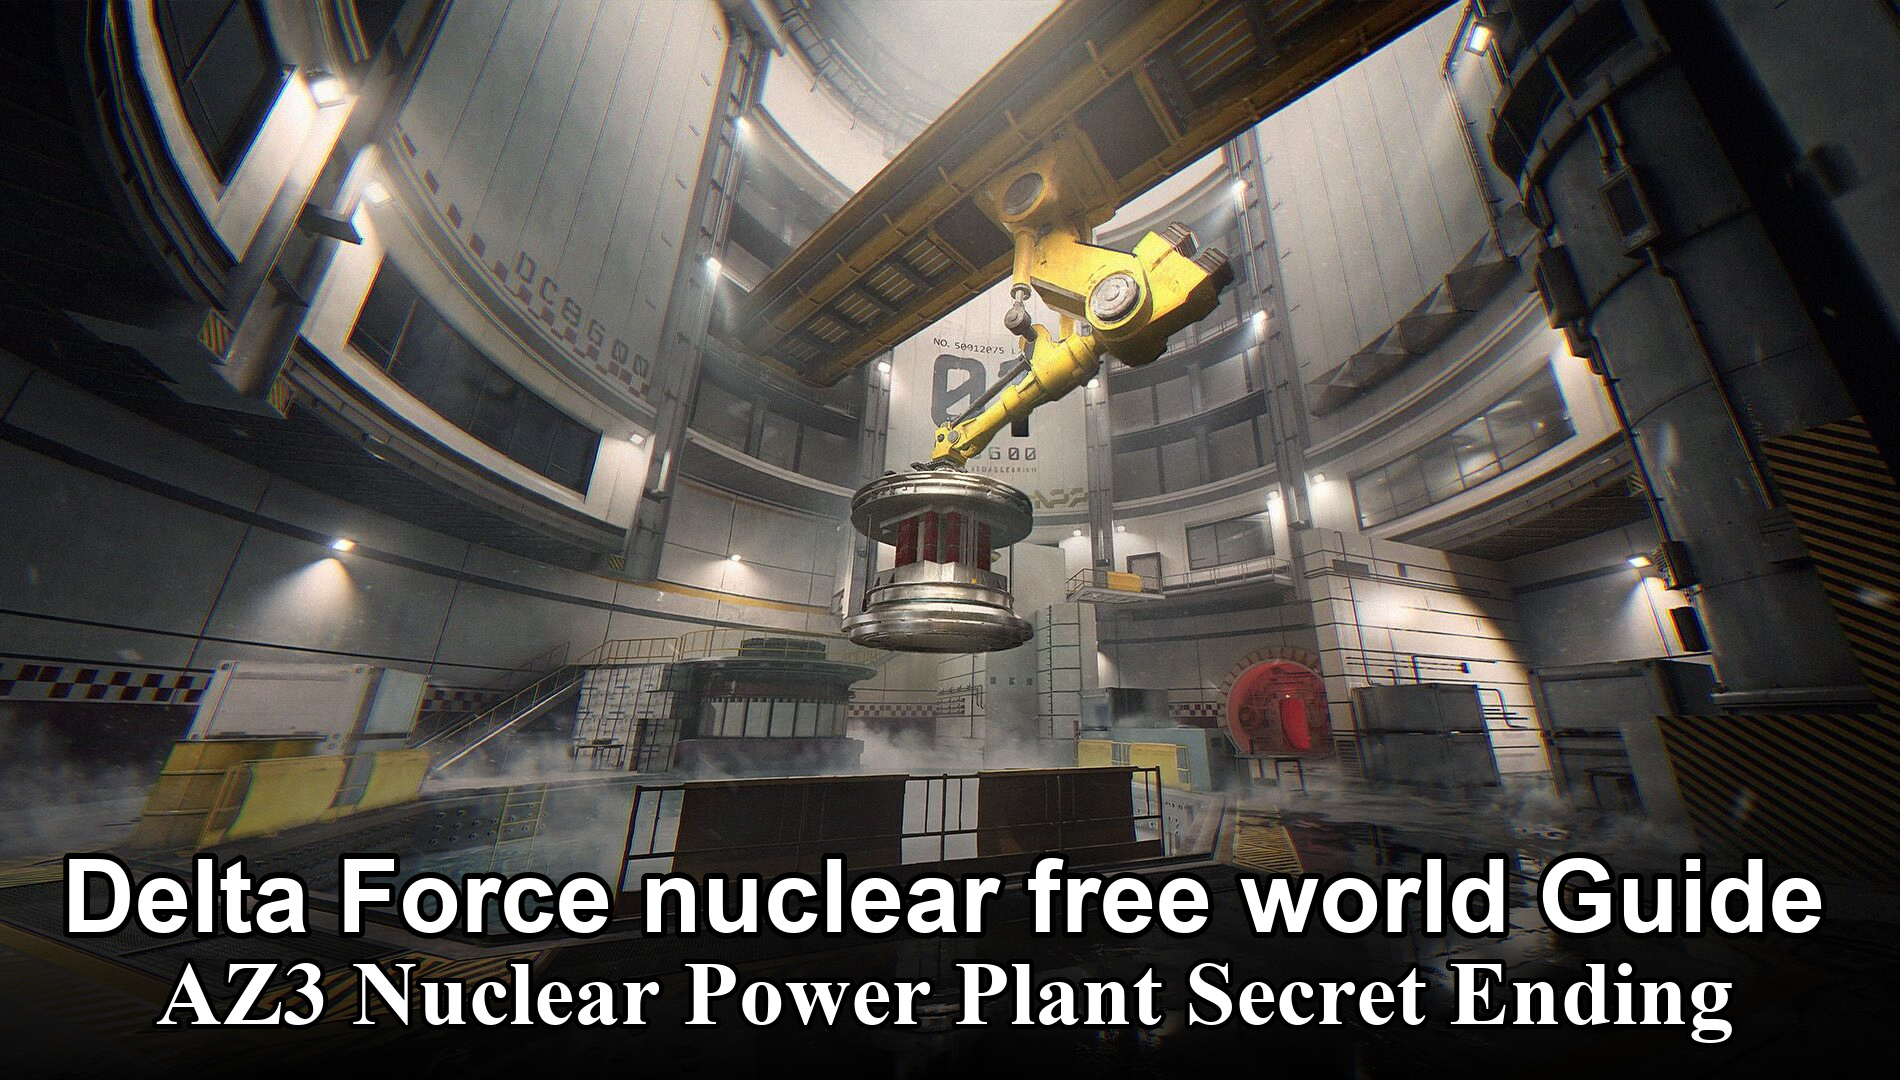
The Delta Force Golden Bird Nest, often called the Golden Egg, is a high-value Delta Force Operations Easter egg built around preparation rather than aim alone. The challenge asks your squad to acquire eight letter-coded Secret Protocol Crates across five maps, carry the full set to a hidden Layali Grove cave, solve the clockwise placement sequence, and survive the final pickup window. This Delta Force Golden Bird Nest guide treats the run as an extraction operation: protect the information, protect the crates, then protect the carrier.Check out this guide for the new map Nuclear Power Plant AZ3 in Delta Force Season 10.
The payoff is memorable, but the route is also a strong test of disciplined Operations habits. Players who try to force every phase in one loud sprint usually create their own problem. A better approach is to bank progress when possible, group crates by code, enter Layali Grove with a job for every teammate, and treat the final minute as an evacuation rather than a victory lap.
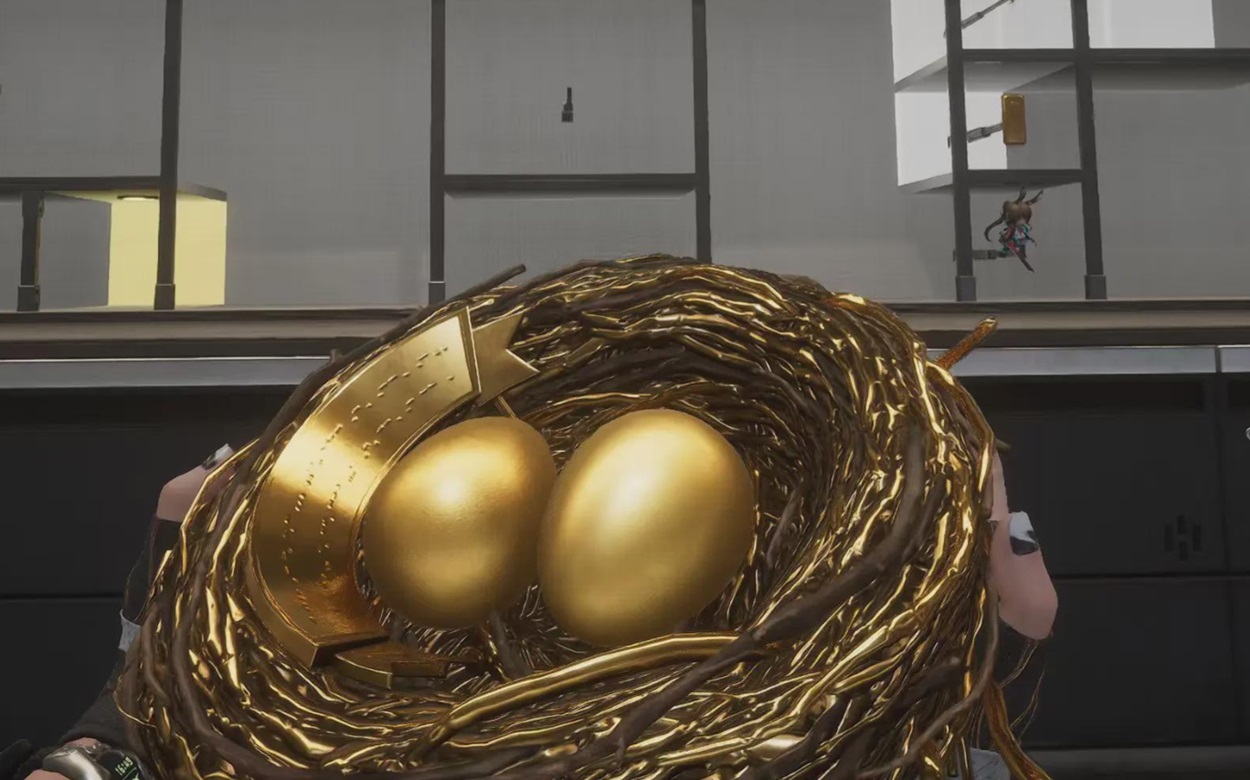
What the Delta Force Golden Bird Nest Is
This is not a normal loot route. The Delta Force Golden Bird Nest sequence is an event-style puzzle inside Operations that connects several maps to one final chamber. The item is associated with a premium in-game credit value and a celebratory anniversary engraving, but its practical importance is that it turns a multi-map scavenger hunt into a coordinated extraction objective.
The run fits patient squads best. A solo player can attempt the route, but every missing teammate increases the cost of one bad angle: there is nobody to hold a corridor, verify the placement order, or watch the carrier during extraction. Four players are not mandatory, yet they make the operation substantially more forgiving.
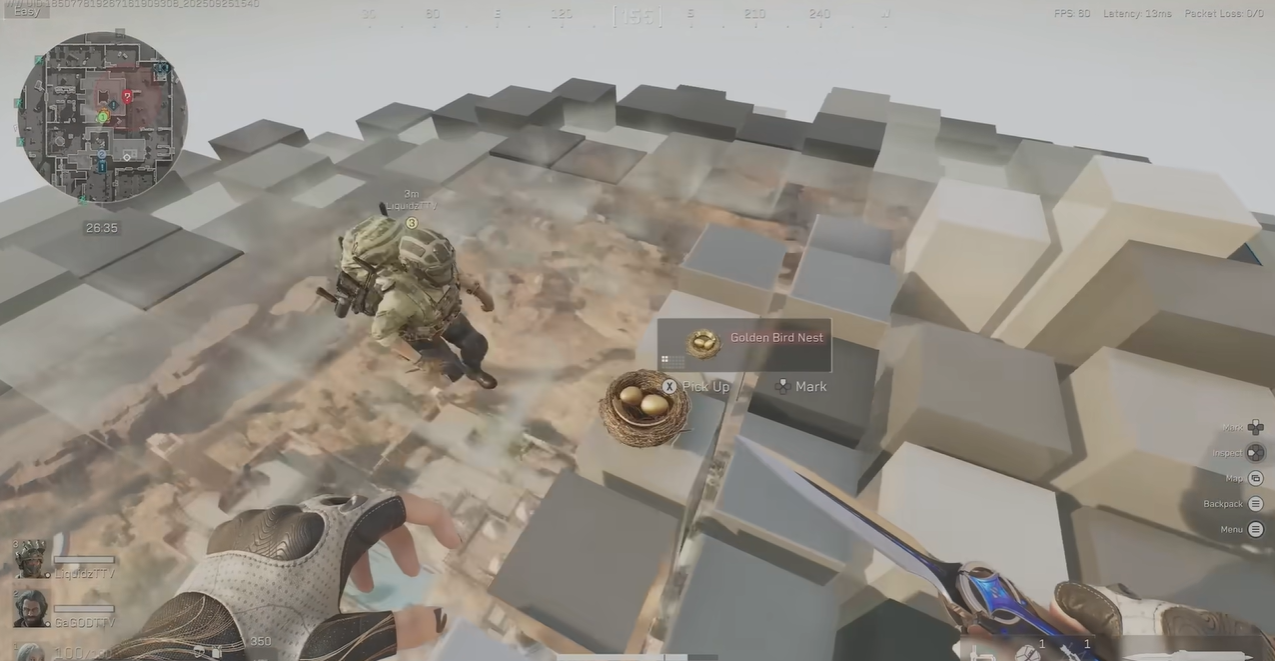
Crate Checklist and Map Codes
Use the letter on each Secret Protocol Crate as your source-of-truth label. Do not rely on memory once your inventory fills up. The table below is the cleanest way to audit the collection before committing to the Layali Grove gate.
| Zero Dam | D | 2 | Final two placements in the clockwise sequence. |
| Layali Grove | L | 1 | One crate plus the final waterfall-cave destination. |
| Brakkesh | B | 2 | Middle-to-late placements after both Space City crates. |
| Space City | S | 2 | Placed consecutively before the Brakkesh pair. |
| Tide Prison | T | 1 | The first crate in the placement order. |
| Map | Code | Required | Why it matters |
How to Prepare Before the First Crate
Bring a kit that lets you leave a bad fight. The goal is not to win every encounter on the way to a crate; it is to preserve the Secret Protocol Crates and reach the next decision point with enough mobility to disengage. Favor manageable weight, reliable healing, and information tools over a loadout that turns every rotation into a slow duel.
- Assign one player as crate caller. That player tracks D, L, B, S, and T counts out loud and performs the final placement callout.
- Assign one player as rear security. Their job is to delay pursuers and cover withdrawals, not to race ahead for loot.
- Assign one player as front scout. Scan entrances, cave approaches, and likely ambush lines before the squad commits.
- Agree on a reset rule. If the area is hot, protect the crates first and return when the route is favorable; a forced fight is optional, lost progress is not.
Fastest Safe Way to Collect the Eight Secret Protocol Crates
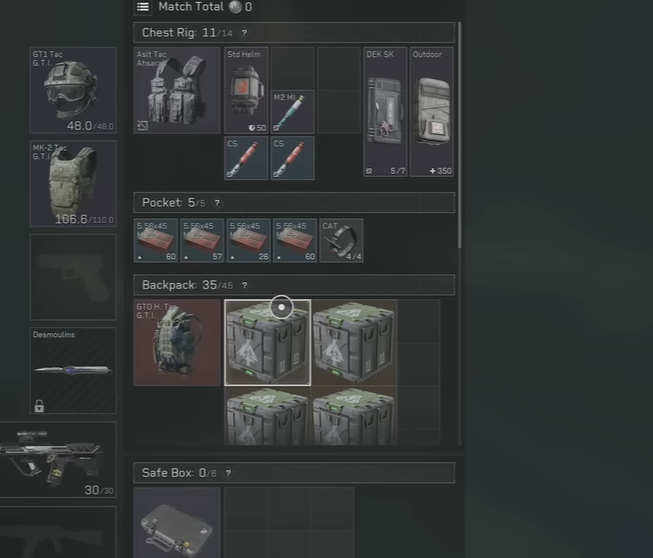
Think in passes, not one giant marathon. Complete the maps you know well first, record the code immediately, and exit on favorable terms. The objective only becomes brittle when your squad starts treating the crates like ordinary loot. At each successful pickup, confirm the running inventory: T 1/1, L 1/1, S 2/2, B 2/2, D 2/2.
- Start with the map whose route your group can clear most quietly. A clean first crate establishes the information loop without making the run emotionally expensive.
- After every pickup, call the map name and code. For example: 'Space City S, one of two secured.' This prevents duplicate assumptions later.
- Do not split a weak squad across every map at once. Parallel collection can be fast, but it multiplies the chances of an unsupported wipe and unclear handoff.
- Before the final Layali Grove trip, stop and audit all eight physical crates. A missing second D, B, or S is easier to fix before you enter the cave.
Layali Grove Waterfall Cave Walkthrough
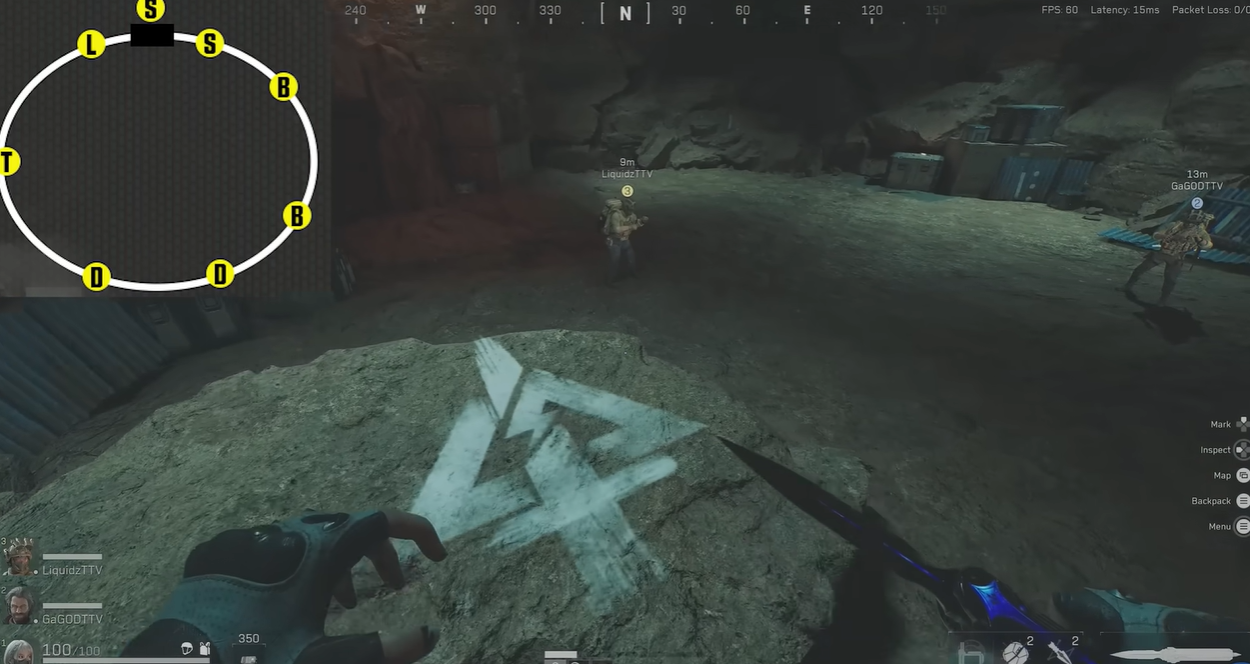
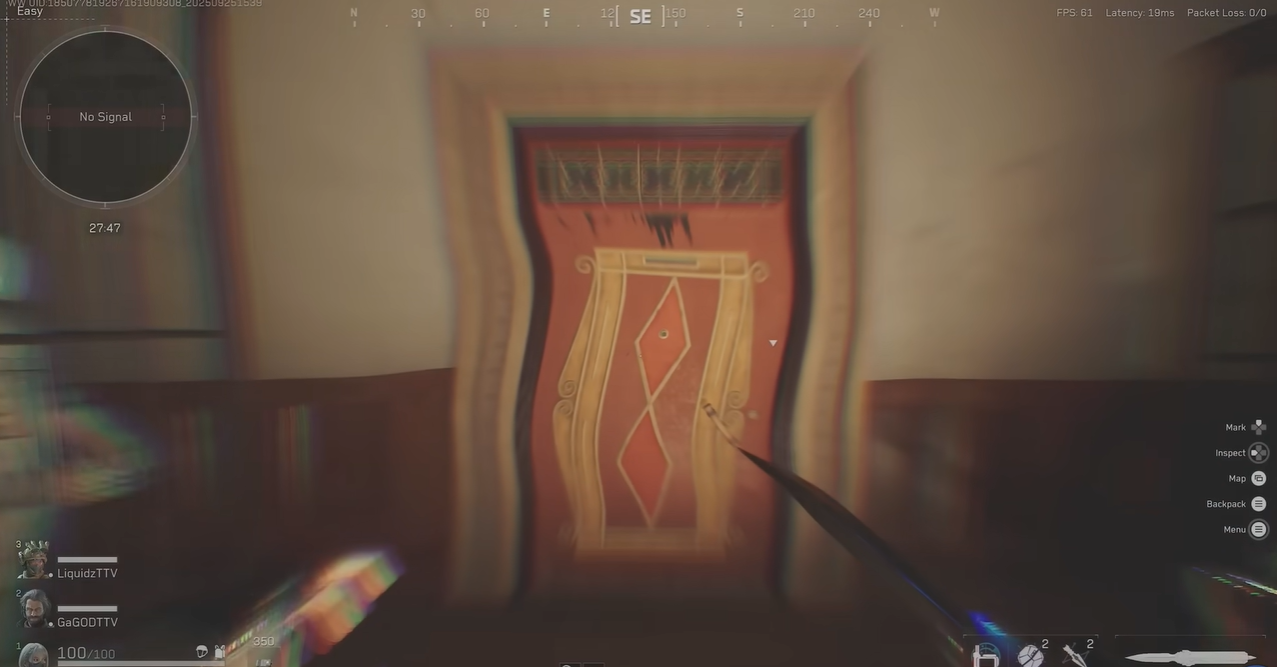
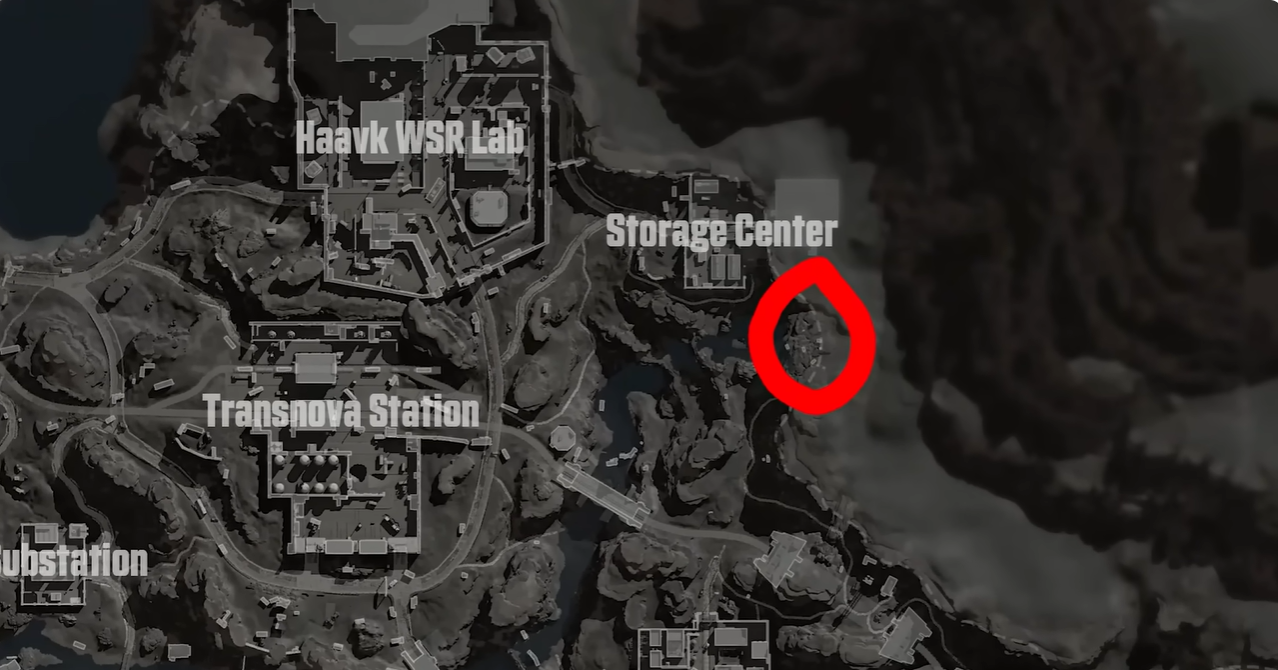
Once the full set is ready, queue into Layali Grove and rotate toward the waterfall area near the southeast storage-station side of the map. The cave approach is the transition from collection to puzzle solving, which makes it the point most likely to attract opportunistic players. Move in with spacing: one scout confirms the entrance, the main group carries the objective, and rear security protects the exit lane.
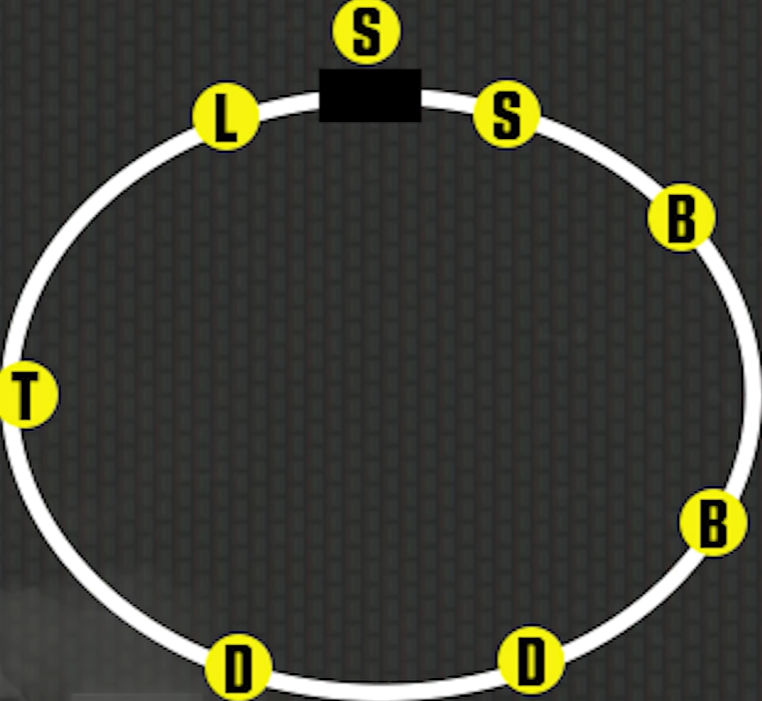
Inside, identify the marked positions around the locked door. The visual language is simple once you slow down: the rock and crate markers define the placement points, while the order itself is the real gate. Place the eight Secret Protocol Crates clockwise in the following sequence: T - L - S - S - B - B - D - D
Claim the Golden Bird Nest and Extract
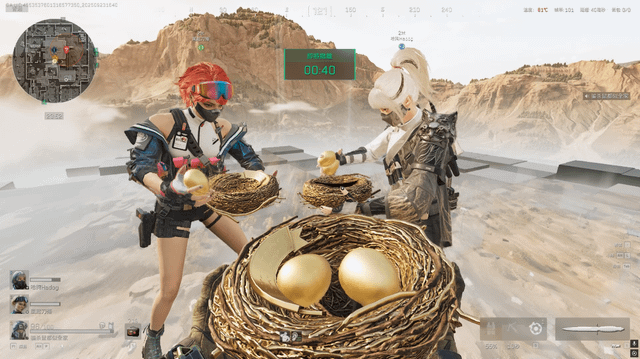
Opening the door changes the objective from puzzle solving to escort duty. The reward path includes a short presentation sequence before the Golden Bird Nest becomes collectible. Let the most mobile or best-protected player take the item, then immediately switch the squad's vocabulary from 'loot' to 'extract.' The final collection window is short, so every unnecessary inventory check, trade, or post-fight detour works against you.
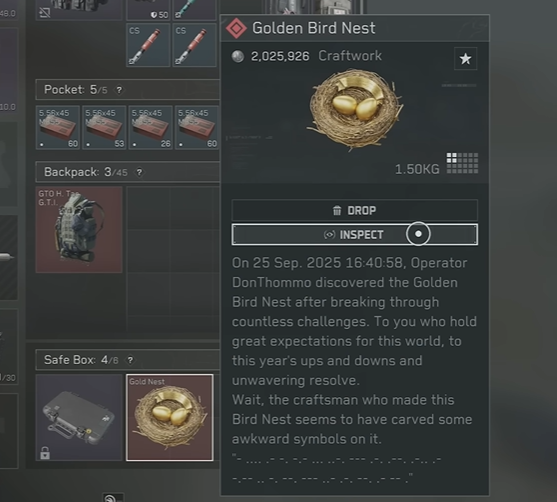
- Keep the carrier in the center of the formation. Do not leave them alone to inspect loot or chase a low-health opponent.
- Clear only the space you need. An extraction corridor is more valuable than a full-area sweep.
- Call the timer and keep comms minimal. The carrier moves; teammates create time and deny pursuit angles.
- Avoid dropping or swapping the Golden Bird Nest unless a recovery is absolutely necessary. Confusion over the carrier is one of the easiest ways to turn success into a failed evacuation.
Recommended Squad Roles
| Crate caller | Tracks codes and gives the placement order. | Reads every letter aloud; starts the cave sequence from T. |
| Front scout | Checks cave approach and next rotation. | Marks danger before the objective carrier reaches it. |
| Carrier | Holds crates and later the Golden Bird Nest. | Avoids side loot and moves only on a clear call. |
| Rear security | Covers exits and delays pursuit. | Keeps a retreat lane instead of overextending for eliminations. |
| Role | Primary task | Best habit |
FAQ
How many Secret Protocol Crates do I need? You need eight Secret Protocol Crates: two D, one L, two B, two S, and one T.
What is the Golden Bird Nest crate order? Place the crates clockwise as T - L - S - S - B - B - D - D in the Layali Grove cave.
Where do I finish the Golden Egg puzzle? The final gate is in a waterfall cave on Layali Grove, around the southeast storage-station area.
Can I complete the Golden Bird Nest solo? It is possible to attempt, but squads have a clear advantage because they can scout, cover the carrier, and keep the cave approach secure.
What should I do after collecting the Golden Bird Nest? Move directly into an extraction plan. Limit looting, keep the carrier protected, and treat the remaining timer as the whole mission..
Conclusion
The Delta Force Golden Bird Nest is easiest when your team turns it into a checklist: collect all eight Secret Protocol Crates, verify the code totals, approach the Layali Grove cave deliberately, place T - L - S - S - B - B - D - D clockwise, and extract without getting distracted. For more Delta Force intel, deep-dive guides, and the latest leaks — bookmark the Delta Force page on BuffBuff.
The best runs feel almost quiet. Your squad protects the information, protects the carrier, and lets the puzzle reward the preparation that got you there.

Delta Force is a modern first person shooter that combines extraction raids with large team objective battles.