Popular Games
 All Games





Delta Force H1000 Boss Guide: Best Way to Find & Defeat the Cyborg Agent
2026-07-14




The Delta Force H1000 Boss is one of the most punishing PvE encounters in Delta Force because the fight combines a roaming Warlord, clone phases, Dynamic Radiation, and constant extraction-shooter pressure from other squads. For more Delta Force news, updates, and guides, bookmark the BuffBuff Delta Force page to stay on top of the latest intel and strategy drops!
If you treat Delta Force H1000 like a normal stationary boss, the run can collapse fast: the Desert Eagle deletes armor, tranquilizer darts punish slow reactions, and the Flying Kick can end a close-range duel instantly. This Delta Force H1000 boss guide explains where to find H1000, how to trigger the full encounter, what gear to bring, and how to beat every phase cleanly.
Where to Find Delta Force H1000
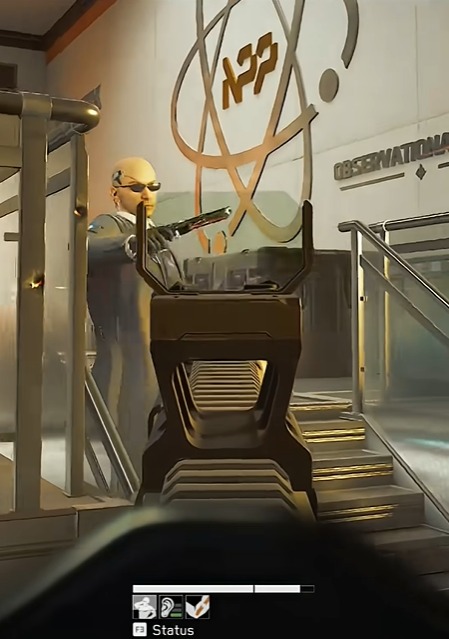
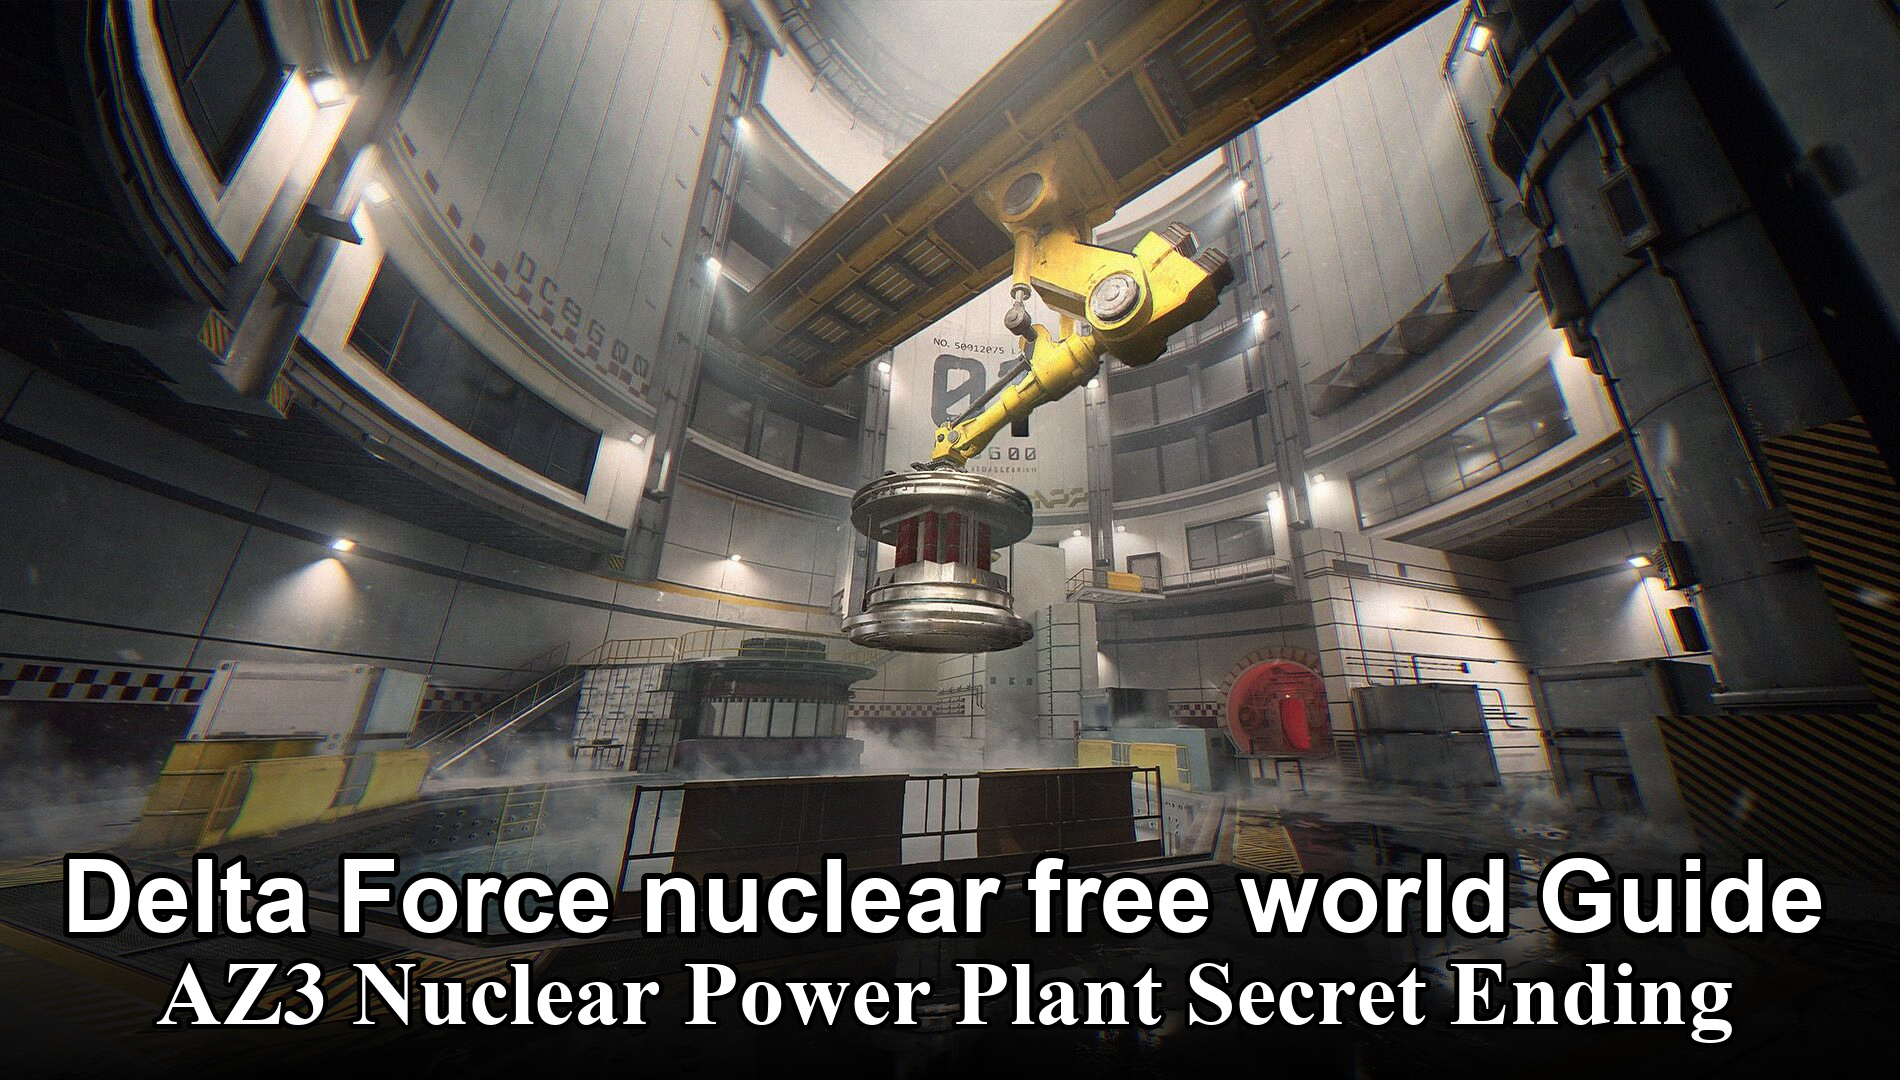
Delta Force H1000 is tied to the AZ3 Nuclear Power Plant in Season 10, also known as Meltdown or Nuclear Fission. The most reliable route is to push into the underground Core Reactor zone and nearby Main Reactor or Turbine Hall areas. In Normal Difficulty, the boss can appear around the central reactor spaces, but Classified Mode is the more dependable choice if your goal is a dedicated Delta Force H1000 clear.
You should not expect the real H1000 to be standing alone at the start. The encounter is built as a multi-stage sequence: weaker clone units appear first, then the real Cyborg Agent enters after the clones are cleared. Listen for boss music, watch for clone activity, and prepare before committing to the reactor floor.
- Primary location: underground Core Reactor inside AZ3 Nuclear Power Plant.
- Nearby danger zones: Reactor Core, Main Reactor, and Turbine Hall routes.
- Most reliable mode: Classified Mode, especially when the squad enters with a full boss-clear plan.
- Encounter signal: unique boss audio, clone enemies, and increased pressure around reactor corridors.
Understand the AZ3 Map Before the Fight
AZ3 is a reactive Operations map, not just a backdrop for a boss arena. The plant adds environmental pressure through Dynamic Radiation, reactor events, vertical routes, AI patrols, and third-party squads hunting the same high-value loot. That means the best H1000 strategy starts before the first shot: enter with enough radiation protection, clear exits early, and avoid spending too long in contaminated rooms.
If the Emergency Reactor Shutdown event is available, complete it before forcing the boss fight. Shutting the reactor down reduces the worst radiation pressure and makes the armor-breaking portion of the fight easier to manage. Missing that window turns the battle into a resource drain where radiation stacks, armor damage, and other teams all arrive at once.
Recommended Gear and Squad Setup
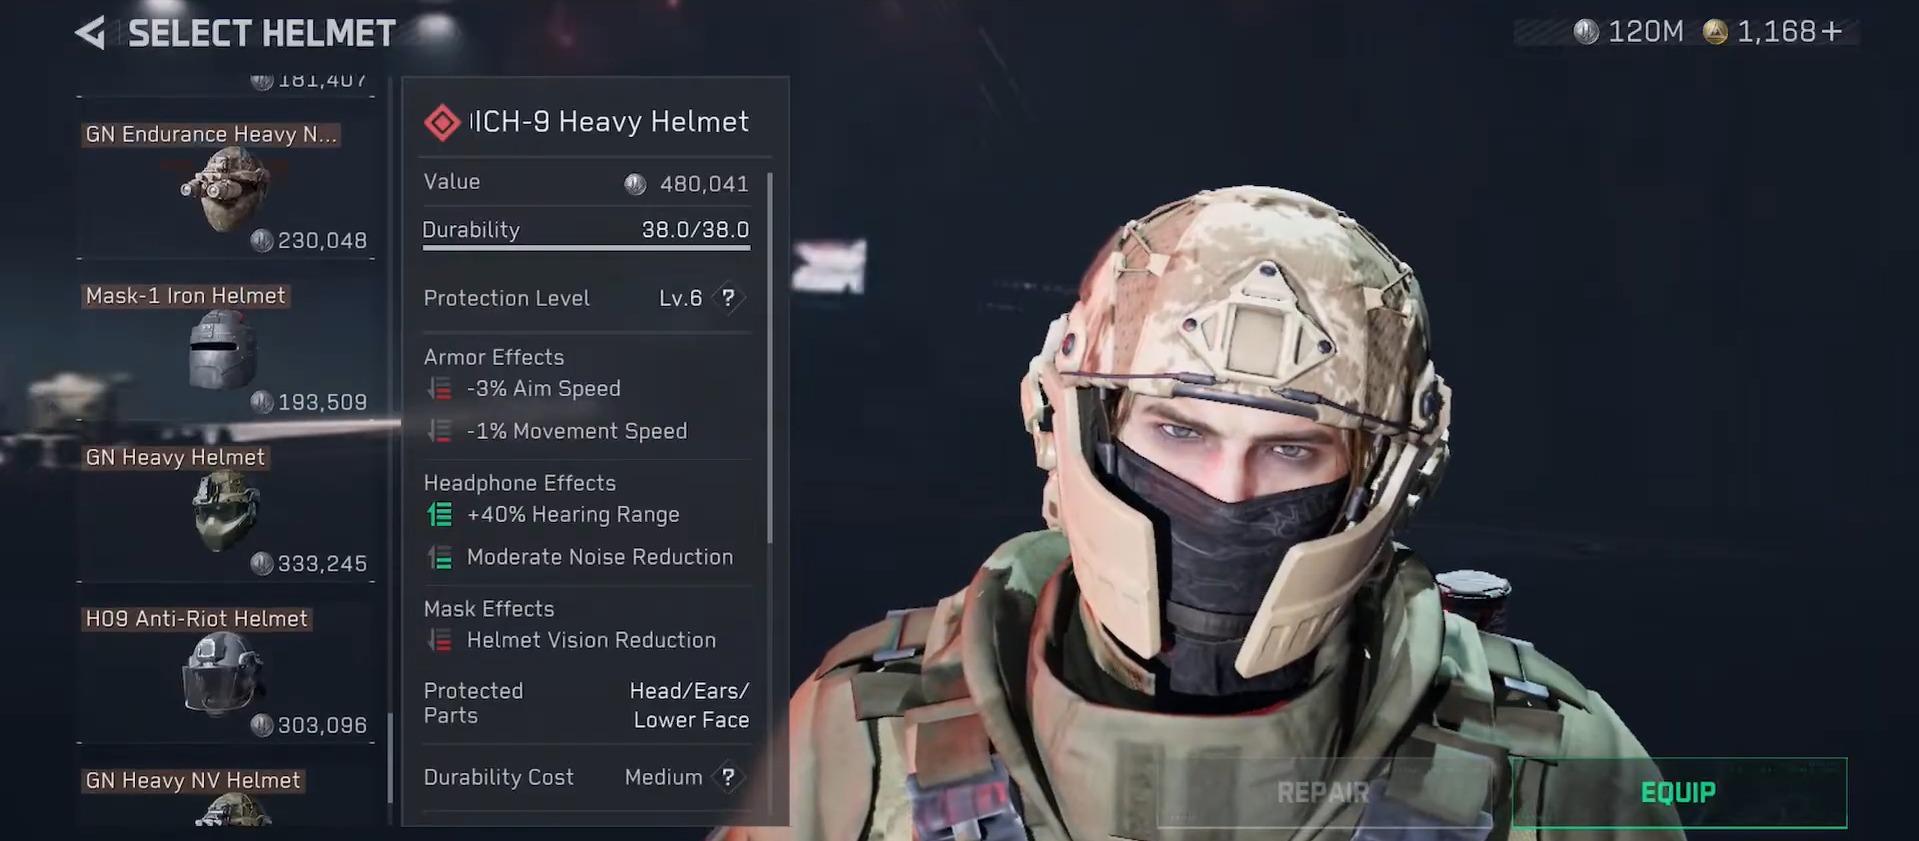
The safest H1000 loadout favors sustained DPS, armor penetration, and fast recovery between peeks. Bring Tier 5 armor or better if possible, because H1000's Armor-Piercing Desert Eagle can punish even short mistakes. Your primary weapon should let you hold pressure on the glowing bio-core without being forced into constant reloads.
| Category | Best Recommendation |
| Armor | Tier 5 or Tier 6 helmet and vest |
| Ammo | Tier 5 or Tier 6 armor-penetrating rounds |
| Primary Weapons | CI-19, K416, M4A1, M250 LMG, or PKM |
| Healing | Multiple First Aid Kits, Emergency Med Kits, and Painkillers |
| Repairs | 1-2 Armor Repair Kits per player |
| Radiation | Anti-radiation medicine and radiation recovery consumables |
| Squad | 2 Assault players, 1 Support, and 1 Engineer or Recon |
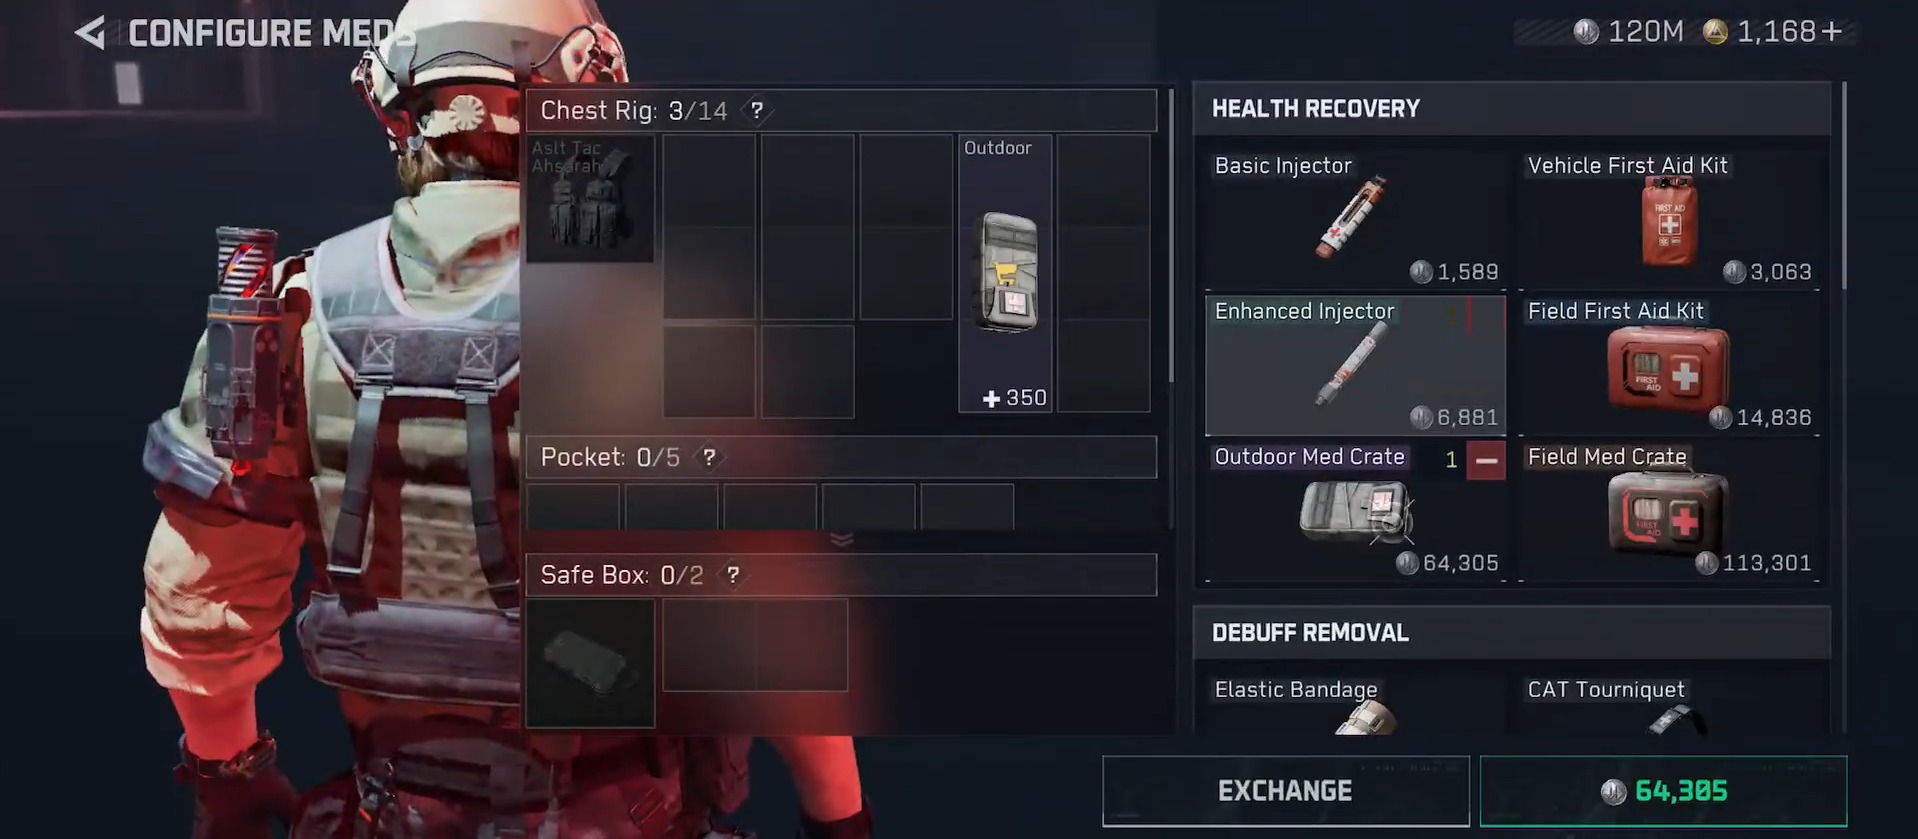
A balanced squad performs better than four players chasing damage. Assault players maintain fire on the weak points, Support keeps revives and heals available, and Engineer or Recon utility helps control corridors, block flanks, or scout third-party squads. If you play solo, avoid forcing the final phase unless the area is quiet and your extraction route is already planned.
H1000 Attack Patterns and Counters
| Attack | What It Does | Best Counter |
| Armor-Piercing Desert Eagle | High-damage pistol shots that shred armor during long peeks. | Use hard cover, jiggle peek, and relocate after short bursts. |
| Poison Needles / tranquilizer darts | Applies a dangerous status effect that can lead to a stun. | Remove the needle immediately, then heal behind cover. |
| Flying Kick / Instant Kill | A sudden close-range lunge that can instantly down careless players. | Never face-tank H1000; sprint sideways when he commits. |
| Radiation Aura | Builds radiation stacks and drains health when players stay too close. | Fight at medium range and use Anti-radiation medicine. |
| Smoke and flanks | H1000 can reposition and pressure side corridors. | Hold crossfire angles and re-check alternate entrances. |
Phase 1: Defeat the H800 Clone
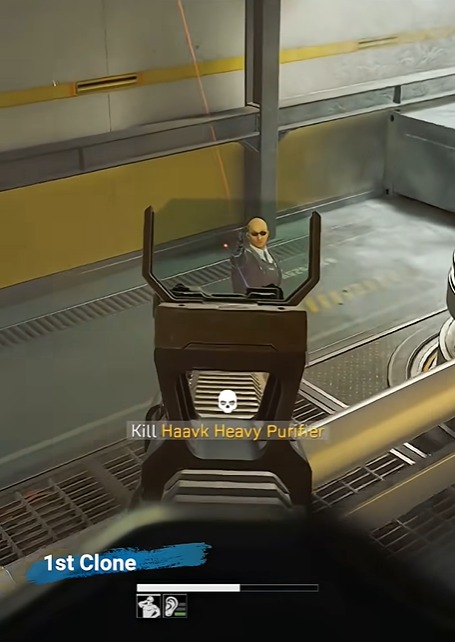
The H800 phase teaches the core rule of the encounter: never stand in the open and never rush directly into melee range. H800 can chase aggressively, use the Desert Eagle, fire poison needles, and punish close players with a Flying Kick. Your squad should fight from medium range, rotate between cover pieces, and use short damage windows instead of long stationary sprays.
- Complete the Emergency Reactor Shutdown if it is available.
- Pull H800 into a lane with reliable hard cover and limited flank paths.
- Assign one player to hold aggro while the others fire into the chest bio-core.
- After every burst, reposition before the clone lines up Desert Eagle shots.
- Remove tranquilizer darts immediately and do not greed damage while stunned or slowed.
Phase 2: Control the H47 Clone
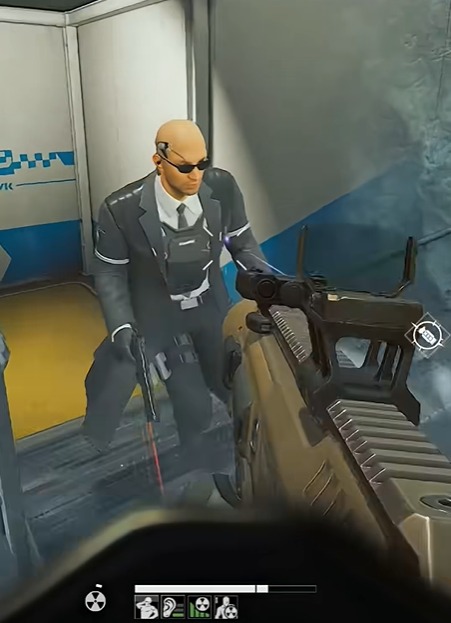
The H47 clone is where many squads lose tempo. Before the phase starts, reload, heal, and repair armor. H47 keeps the same pressure profile as the previous clone but arrives when your supplies are already being tested. Focus fire on the glowing chest weak point, avoid extended peeks, and call out tranquilizer hits instantly so the affected player can break line of sight.
- Use medium-to-long range angles instead of fighting in the boss's path.
- Keep one escape route open so the squad is not trapped by radiation or third-party players.
- Do not chase H47 into smoke or blind corners; reset the angle and make the clone cross open space.
- If armor breaks, stop dealing damage and repair before the Desert Eagle finishes the down.
Phase 3: Kill the Real H1000
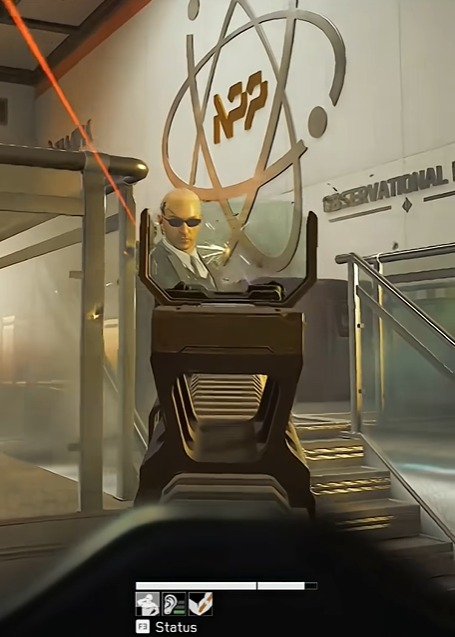
The real H1000 is more dangerous because it actively hunts high-threat players rather than waiting in one spot. If your squad makes noise, deals heavy damage, or stays predictable, H1000 can pressure from side corridors and reposition through smoke. The safest pattern is controlled aggression: short bursts into the bio-core or exposed brain-machine interface, then rotate before the boss can punish the angle.
Use crossfire instead of stacking all players in the same doorway. One player should bait the boss's attention while teammates take disciplined shots at weak points. If H1000 turns toward a player, that player breaks line of sight and the others continue pressure. This keeps damage flowing without feeding the Flying Kick or Desert Eagle.
Best Fight Plan: Simple Step-by-Step Strategy
- Step 1: Enter AZ3 with Tier 5+ armor, high-penetration ammo, anti-radiation supplies, and spare magazines.
- Step 2: Move to the Core Reactor through a route with cover and a known extraction fallback.
- Step 3: Trigger or complete the Emergency Reactor Shutdown before committing to the boss if possible.
- Step 4: Clear H800 first, then H47, using medium-range cover and immediate status-effect removal.
- Step 5: For the final H1000 phase, hold split angles, shoot the bio-core and brain-machine interface, and rotate after every damage window.
- Step 6: Loot quickly after the kill, then leave before radiation, AI, or enemy squads collapse on the reactor area.
Common Mistakes That Get Squads Wiped
- Fighting H1000 at close range and giving the boss a free Flying Kick.
- Ignoring Dynamic Radiation until healing supplies are already gone.
- Skipping armor repairs after Desert Eagle hits.
- Standing in one doorway for too long instead of rotating after short bursts.
- Treating poison needles as minor damage instead of removing tranquilizer effects immediately.
- Looting slowly after the kill while other squads rotate toward the reactor.
H1000 Rewards and Why the Fight Is Worth It
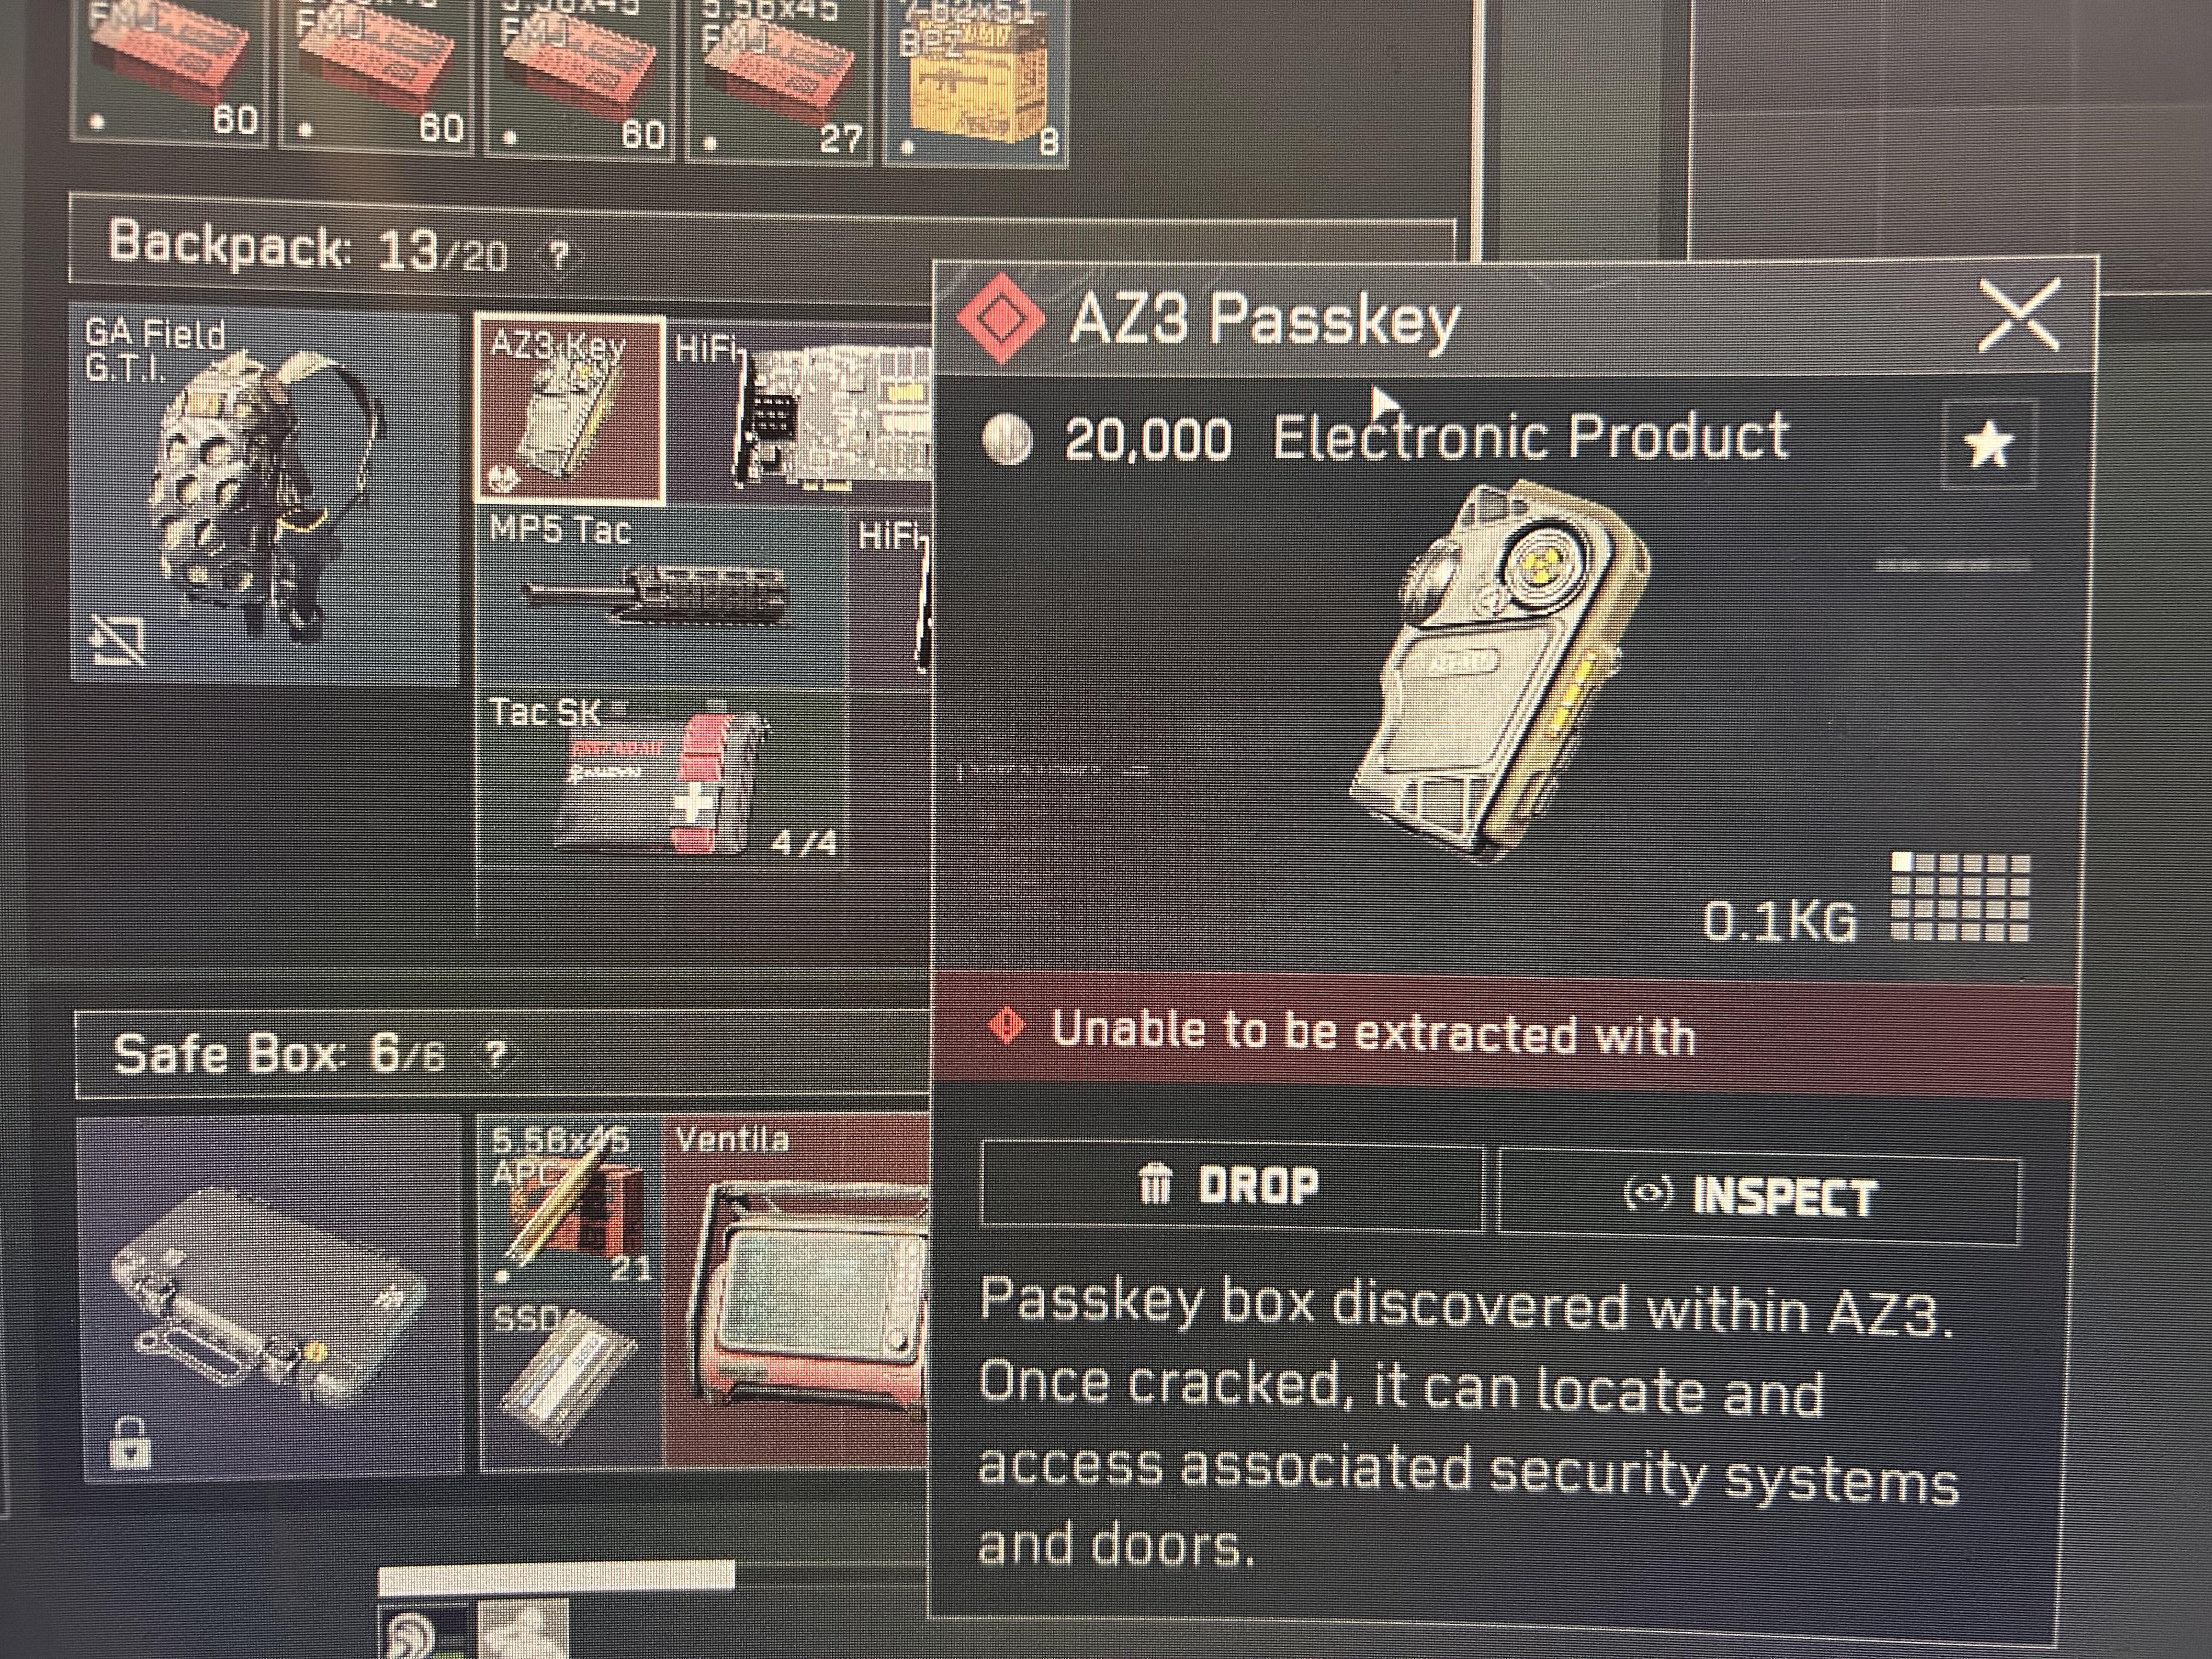
The H1000 fight is risky, but the reward pool makes it one of the most valuable boss clears in AZ3. After the final phase, players can obtain the Red AZ3 Key, H1000's Desert Eagle, H1000's armor, pass keys, and additional high-value loot depending on the run. Because the boss sits in a high-pressure part of the map, the best teams treat the reward phase like a second fight: one player loots, one watches the corridor, and one prepares the extraction call.
| Reward | Why It Matters |
| Red AZ3 Key | Opens valuable AZ3 access routes or loot opportunities. |
| H1000's Desert Eagle | Signature boss weapon and a high-value trophy item. |
| H1000's armor | Useful extraction value and strong post-fight gear pickup. |
| Pass keys and rare loot | Additional profit that makes successful boss runs worth repeating. |
Conclusion
The best way to defeat the H1000 Boss in Delta Force is to prepare for the map before you prepare for the boss. AZ3 Nuclear Power Plant is built around radiation pressure, reactor events, vertical movement, and PvPvE chaos, so survival depends on clean routing as much as raw aim.For more Delta Force intel, deep-dive guides, and the latest leaks — bookmark the Delta Force page on BuffBuff Bring Tier 5 or Tier 6 gear, complete the Emergency Reactor Shutdown when possible, clear H800 and H47 without wasting armor, then defeat the real H1000 with medium-range crossfire into the chest bio-core and head interface. Loot fast, reset the fight area, and extract before the reactor becomes a trap.

Delta Force is a modern first person shooter that combines extraction raids with large team objective battles.