Popular Games
 All Games





Mitya Build Guide: Best Weapons, Artifacts & Teams | Genshin 7.2
2026-11-02

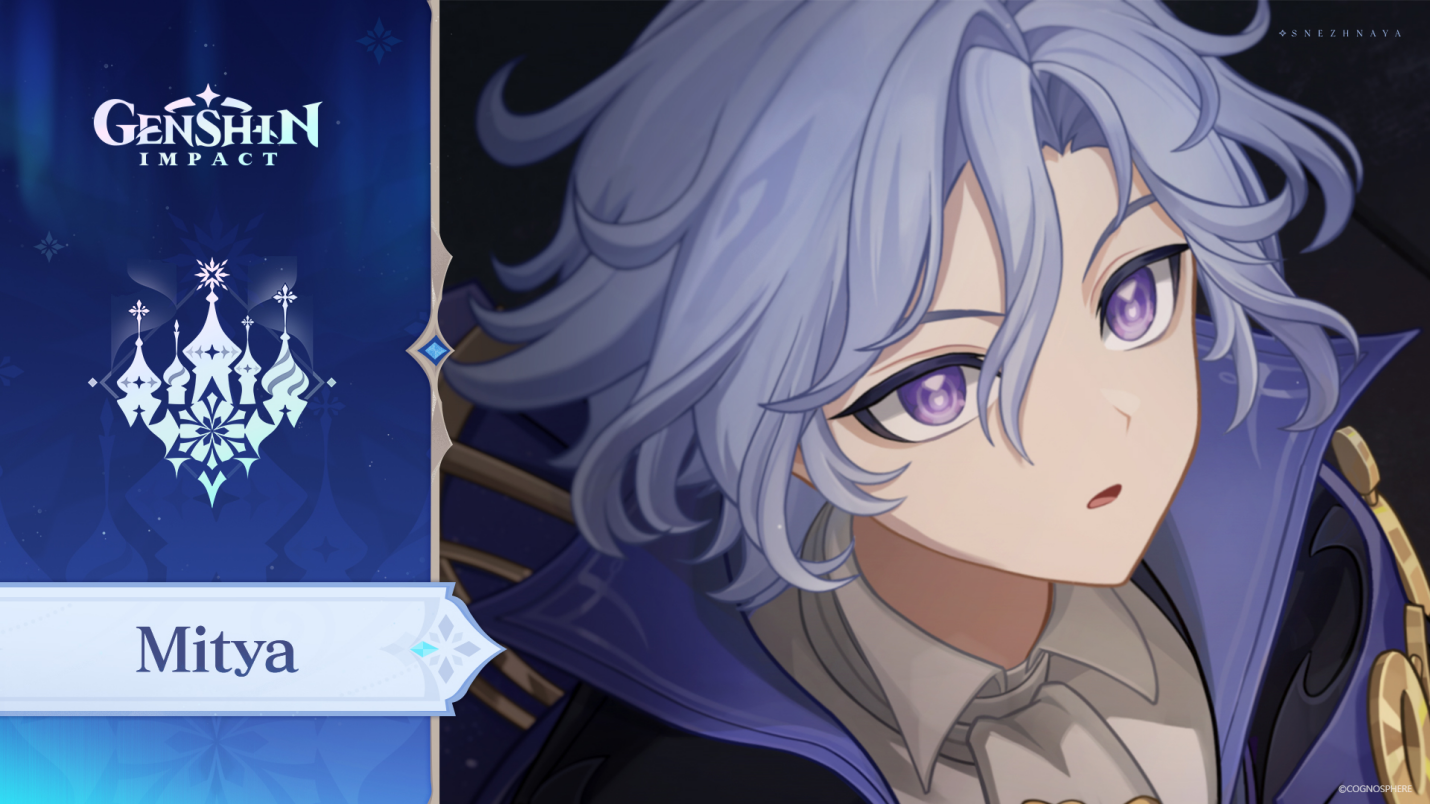
Mitya is an upcoming 5-star character in Genshin Impact Version 7.2. He brings a fresh approach to Electro combat through Stellar-Conduct reactions. His ability to switch between dealing damage himself and supporting another carry gives players more than one way to build him. This Genshin Impact Mitya build guide covers his best weapons, artifacts, stat priorities, team compositions, skills, rotations, Constellations, and upgrade materials.
Mitya Character Overview
 | Rarity | 5-star |
| Element | Electro | |
| Weapon | Catalyst |
Mitya is an Electro Catalyst 5-star character built around Stellar-Conduct, a reaction associated with Cryo and Electro interactions. His kit creates Gradient Beacons, which contribute to reaction damage and provide different benefits depending on his active combat mode.
His Elemental Skill allows him to switch between Steady State and Overloaded. Steady State focuses on off-field damage by consuming Gradient Beacons and provides teamwide Elemental Mastery buffs. Overloaded enables enhanced Charged Attacks that consume Beacons for more serious on-field damage.

This flexibility makes Mitya useful in different Stellar-Conduct compositions. He can take the lead as an on-field carry or support characters such as Sandrone and Cyno without demanding much field time.
Mitya Skills and Kit
Normal Attack – Chain Reaction
Mitya's standard combo consists of three Electro strikes. However, his Charged Attack becomes Gradient Detonation when the Overloaded Core is active and at least one Gradient Beacon is available.
This upgraded attack requires no Stamina and lets him unleash multiple Beacons by holding the attack button. Every Beacon spent adds an AoE Electro hit treated as Stellar-Conduct DMG, which makes Gradient Detonation his main source of on-field damage.
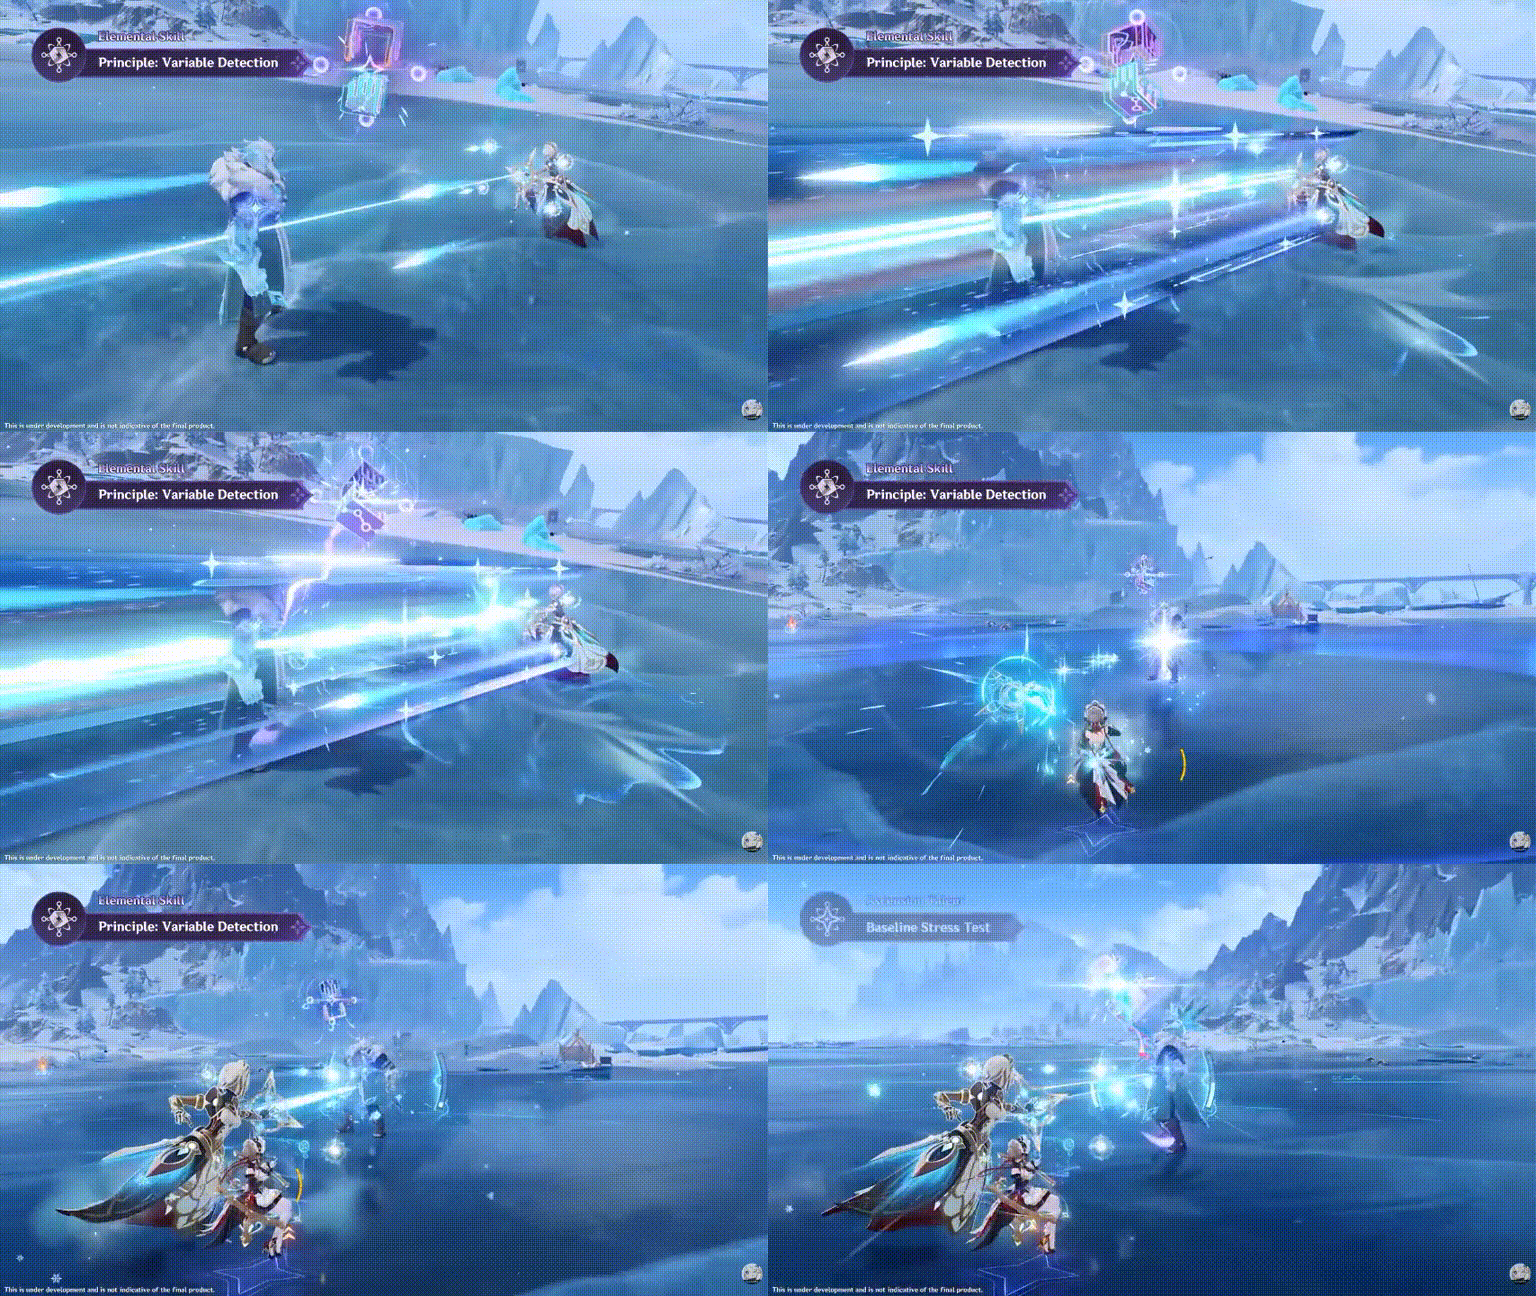
Elemental Skill – Principle: Variable Detection
Mitya deals AoE Electro DMG and creates a Detection Core. Tapping or holding the Skill determines its mode, and he can switch modes by tapping again within 6 seconds, once every 1.5 seconds.
- Steady State (Tap): The Core follows enemies and periodically attacks them. Once Mitya reaches his four-Beacon limit, it consumes newly generated Beacons for extra Stellar-Conduct DMG. It also detonates his remaining Beacons when the Core expires or is replaced.
- Overloaded (Hold): Activates Gradient Detonation, which allows Mitya to consume Beacons through enhanced Charged Attacks for more serious on-field damage.
The Detection Core lasts 25 seconds, with an 18-second Skill cooldown.
Elemental Burst – Analysis: Gradient Theory
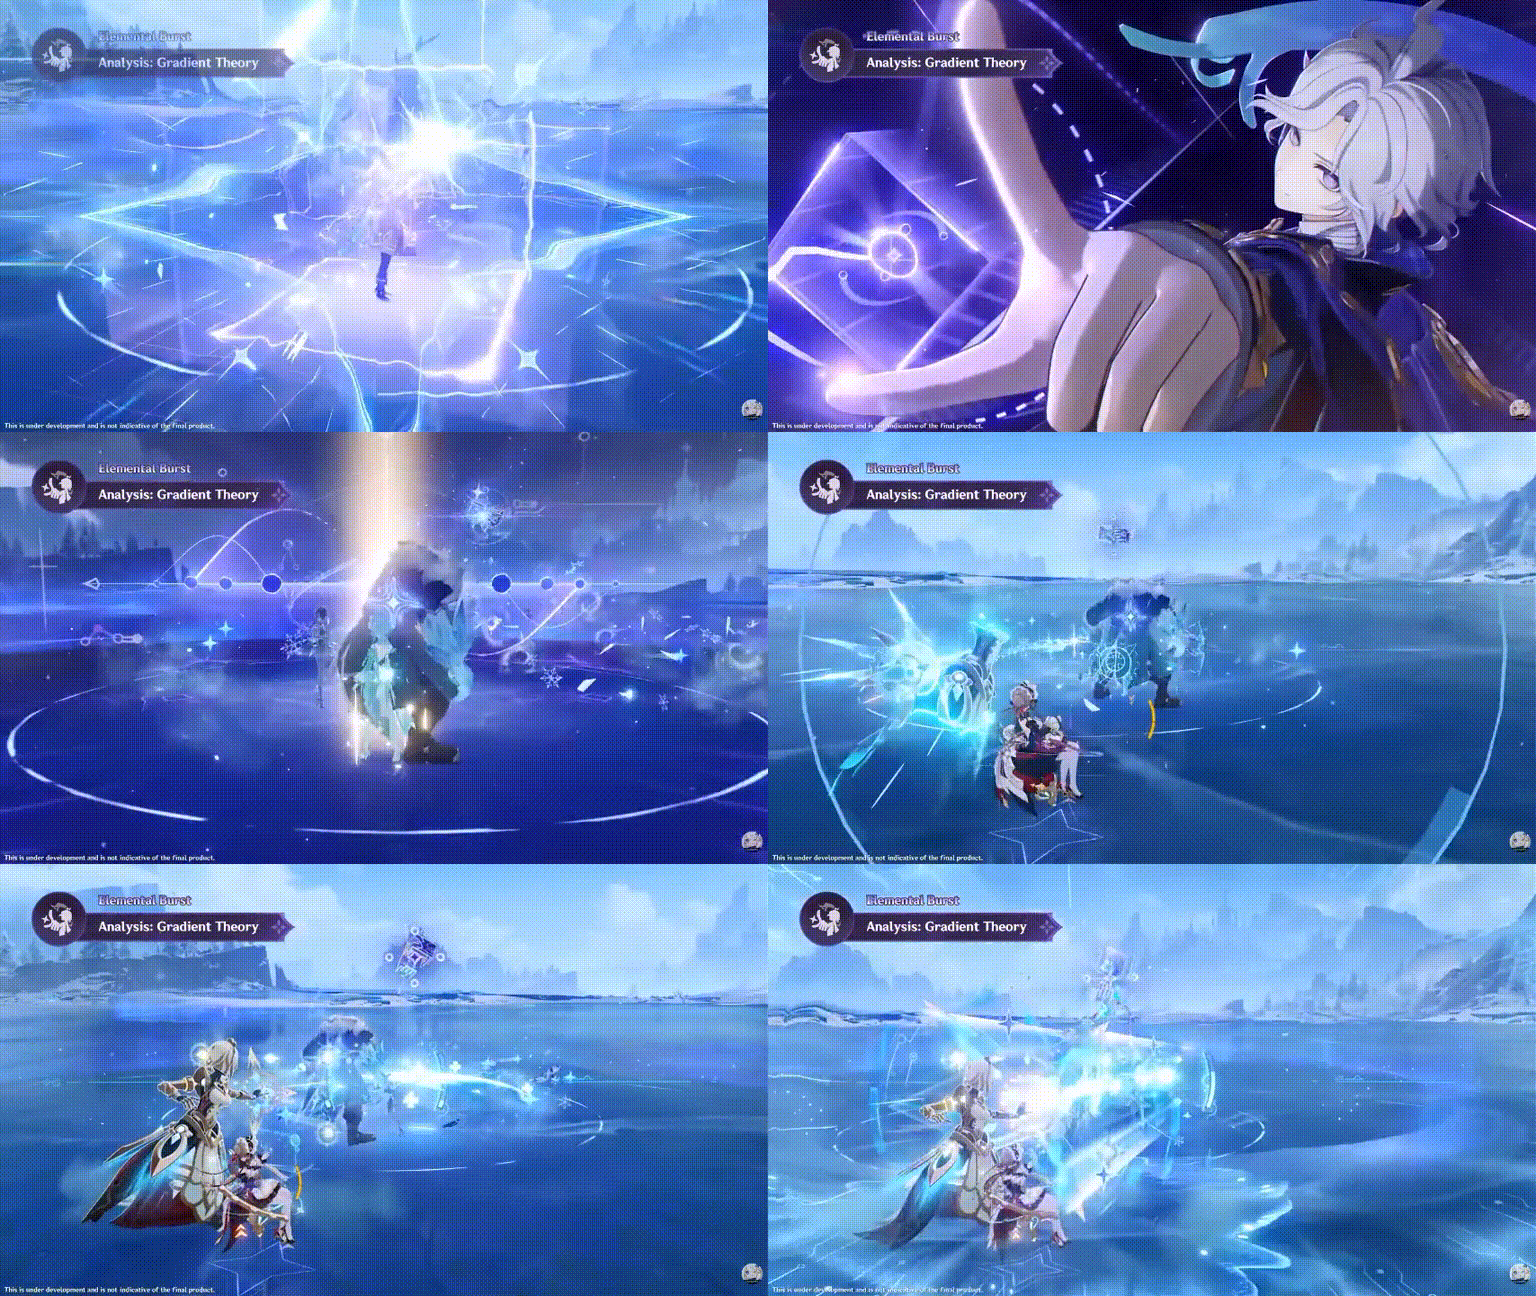
Mitya unleashes AoE Electro DMG and immediately creates three Gradient Beacons. His Burst costs 60 Energy and has a 15-second cooldown.
It is useful for his DPS build and provides additional Beacons that can be consumed through Gradient Detonation without waiting for more reactions.
Special Mechanic – Stellar Jubilee: Top-Secret Protocol
Mitya changes the team's Superconduct reactions into Stellar-Conduct, which generates Gradient Beacons instead of Starlight Prisms. These Beacons follow the active character and create a Polestar Field, with a maximum of four Beacons at C0.
Mitya also increases nearby teammates' base Stellar-Conduct DMG by 0.028% per Elemental Mastery point, up to 14% at 500 EM.
Mitya Passive Talents
Baseline Stress Test: Enhances the Detection Core according to its mode:
- Steady State: Grants nearby teammates 30 Elemental Mastery per stored Beacon, up to 120 EM at C0.
- Overloaded: After a nearby teammate triggers Stellar-Conduct, Mitya gains one Beacon every 1.5 seconds for 6 seconds.
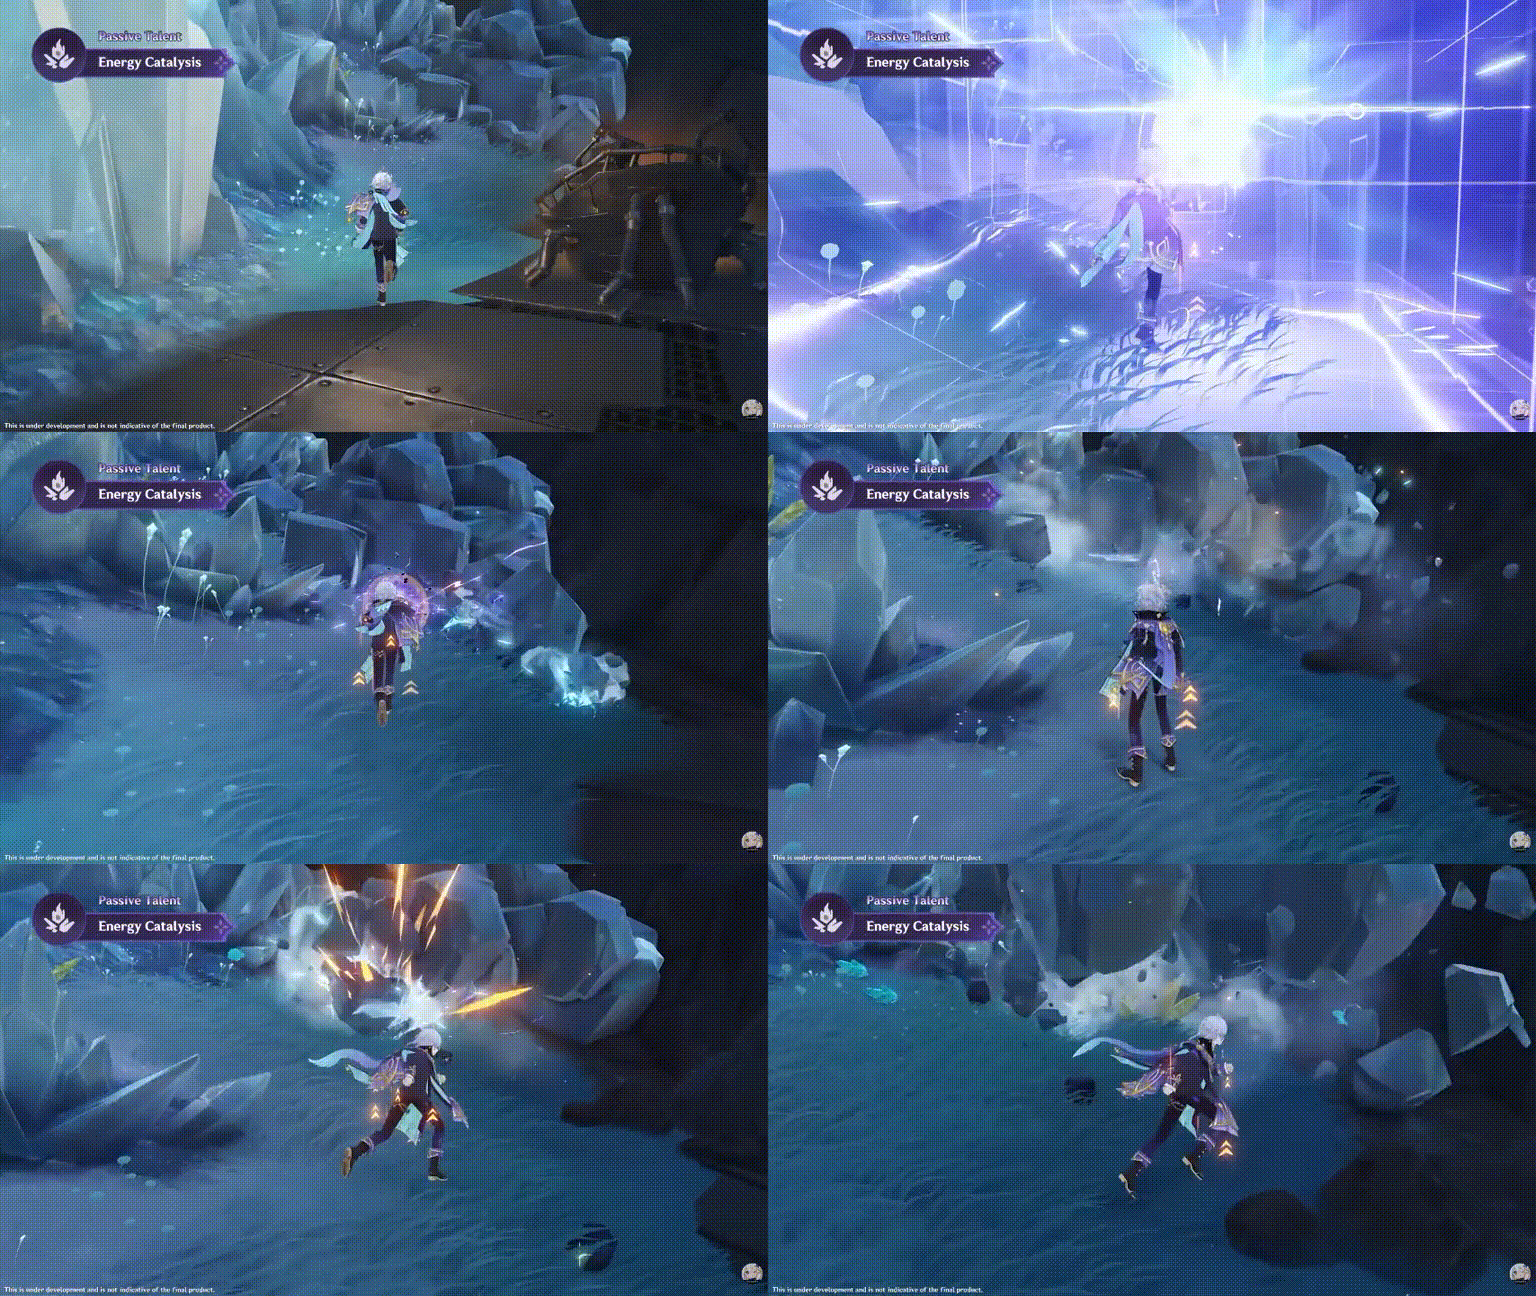
Explosive Reagent: Safe Limits Exceeded: Extends Gradient Beacon duration from 6 to 10 seconds. Creating a Beacon also grants Mitya 5% CRIT Rate for 15 seconds, stacking four times for up to 20% CRIT Rate.
Energy Catalysis: Allows the Steady State Core to destroy nearby destructible rocks faster. Mitya also removes the Kresnik Energy cost of creating a Prime Ice Construct: Basic Heat Source.
Mitya Materials
The following are Ascension and Talent materials required for the Genshin Impact Mitya build:
Mitya Ascension Materials (Level 1 to Level 90)
| Material | Total |
 Mora | 2,092,600 |
 Crystalfold | 168 |
 Wanderer's Advice | 3 |
 Hero's Wit | 418 |
 Vajrada Amethyst Sliver | 1 |
 Vajrada Amethyst Fragment | 9 |
 Vajrada Amethyst Chunk | 9 |
 Vajrada Amethyst Gemstone | 6 |
 Chimeric Core | 18 |
 Symbiotic Chimeric Nucleus | 30 |
 Prime Chimeric Nexus | 46 |
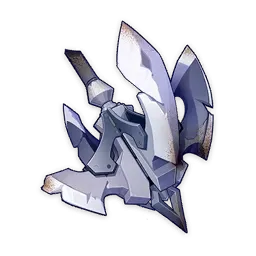 Shattered Stabilizing Anchor | 46 |
Mitya Talent Materials (Level 1 to Level 10)
| Material | Total |
 Mora | 4,957,500 |
 Crown of Insight | 3 |
 Teachings of Charity | 9 |
 Guide to Charity | 63 |
 Philosophies of Charity | 114 |
 Chimeric Core | 18 |
 Symbiotic Chimeric Nucleus | 66 |
 Prime Chimeric Nexus | 93 |
 Mask of the Virtuous Doctor | 18 |
Mitya Best Weapons
Star Sealed Edict (Signature Weapon)
 | Base ATK: 542CRIT DMG: 88.2%Effect: Increases CRIT DMG by 24%. Using an Elemental Skill grants 48 Elemental Mastery for 20 seconds. During this effect, nearby party members triggering elemental reactions provide additional stacks, each granting 24 Elemental Mastery. Stellar-Conduct reactions also grant 12% Stellar-Conduct CRIT DMG per stack, up to three stacks. |
Star Sealed Edict is a signature Mitya weapon. Its combination of CRIT DMG and Elemental Mastery suits his reaction scaling. The additional Stellar-Conduct bonus also improves his main damage source. It is most attractive for players who intend to use Mitya as their primary damage dealer rather than only as an off-field support.
Pro Tip: Planning to pull Mitya or his signature Catalyst? Explore Genshin Impact top-up options on BuffBuff to prepare for his Version 7.2 banner.
Alternative Mitya Weapons
Dawning Frost (4-Star Option)
 | Base ATK: 510CRIT DMG: 55.1%Effect: Landing a Charged Attack increases Elemental Mastery by 72 for 10 seconds. Hitting an enemy with an Elemental Skill grants another 48 Elemental Mastery for the same duration. |
Dawning Frost is a strong alternative Mitya weapon for on-field because his normal rotation includes both Skill usage and enhanced Charged Attacks. It provides useful CRIT DMG and Elemental Mastery without requiring his signature weapon.
Etherlight Spindlelute (F2P DPS Option)
 | Base ATK: 510Energy Recharge: 45.9%Effect: After using an Elemental Skill, the wielder gains 200 Elemental Mastery for 20 seconds. |
Etherlight Spindlelute is an excellent budget option for C0 Mitya. Its Energy Recharge helps him use his Burst consistently, while the passive supplies a large Elemental Mastery bonus.
Fruit of Fulfillment (Craftable Alternative)
 | Base ATK: 510Energy Recharge: 45.9%Effect: Triggering an elemental reaction grants 36 Elemental Mastery while reducing ATK by 5%, stacking up to five times. Stacks gradually disappear when no reactions are triggered. |
Fruit of Fulfillment is a practical craftable Catalyst for the Genshin Mitya build. Its Elemental Mastery stacks improve Stellar-Conduct damage, and the ATK reduction is less concerning because his primary reaction damage scales with Elemental Mastery.
Wandering Evenstar (Support Weapon)
 | Base ATK: 510Elemental Mastery: 165Effect: Every 10 seconds, converts 24% of the wielder's Elemental Mastery into bonus ATK for 12 seconds. Nearby teammates receive 30% of that ATK bonus, even when the wielder is off-field. |
Wandering Evenstar Mitya's weapon is useful for supporting Mitya. He naturally builds substantial Elemental Mastery and allows the weapon to provide additional ATK to teammates while preserving his own reaction damage.
Mitya Best Artifacts
Mitya's artifact choice depends on whether he deals most of the team's damage or supports another character.
Disenchantment in Deep Shadow (Best DPS Set)
 | 2-Pc: ATK +18%4-Pc: Increases Superconduct damage by 80% and Stellar-Conduct damage by 40%. Attacking enemies affected by either reaction grants 16% CRIT Rate for that attack. |
Disenchantment in Deep Shadow is Mitya's strongest damage-focused set. The reaction bonus and additional CRIT Rate work well with his enhanced Charged Attacks. However, the 2-piece ATK bonus contributes little to his primary Stellar-Conduct damage. This makes the set less dominant than its description might suggest.
Gilded Dreams (Alternative Set)
 | 2-Pc: Increases Elemental Mastery by 80.4-Pc: After triggering an elemental reaction, grants 50 EM for each teammate of a different element and 14% ATK for each teammate sharing the wearer's element, counting up to three teammates. |
Gilded Dreams is a strong alternative Mitya artifact set, especially in teams that can consistently activate its reaction-based bonuses. The additional Elemental Mastery strengthens his Stellar-Conduct damage, which makes it a competitive option for on-field and off-field builds.
Mitya Artifact Stat Priority
| Artifact | On-Field DPS | Off-Field Support |
| Sands | Elemental Mastery / Energy Recharge | Elemental Mastery |
| Goblet | Elemental Mastery | Elemental Mastery |
| Circlet | CRIT Rate / CRIT DMG / Elemental Mastery | Elemental Mastery / CRIT |
| Substats | ER until sufficient > CRIT / EM | EM / CRIT |
Recommended starting targets for on-field Mitya:
- Elemental Mastery: At least 500, with more being useful for personal damage
- CRIT Rate: Around 60–70% before conditional combat bonuses
- CRIT DMG: Around 155–180% or higher, depending on weapon
- Energy Recharge: Approximately 145–165% when his Burst is needed every rotation, depending on the team
Support Mitya generally needs less Energy Recharge because his Burst is optional. Prioritize Elemental Mastery and suitable team buffs instead.
Important: Avoid automatically using an Electro DMG Bonus Goblet. Mitya's main Stellar-Conduct reaction damage benefits more from Elemental Mastery than from ordinary Electro DMG Bonus.
Mitya Best Teams
Mitya works best with characters who support Stellar-Conduct through Cryo application, Electro energy generation, or reaction-focused buffs.
On-Field Stellar-Conduct Team
 Mitya |  Odette |  Yae Miko |  Valeriy |
This is the premium Mitya team for on-field damage. Odette supports Stellar-Conduct reactions. Yae Miko contributes off-field Electro damage and energy. Valeriy provides protection and additional offensive utility.
Sandrone Stellar-Conduct Team
 Sandrone |  Mitya |  Odette |  Yae Miko |
This team uses Mitya as a low-field-time reaction enabler. His Steady State supports Sandrone's damage while Odette and Yae Miko contribute additional elemental application and reaction synergy.
F2P Stellar-Conduct Team
 Mitya |  Valeriy |  Sucrose |  Cryo Traveler |
This Mitya F2P team is useful if you don't have an off-field premium character. Cryo Traveler drives Stellar-Conduct. Sucrose facilitates Elemental Mastery.
Mitya Rotation
Mitya Genshin build has different rotations depending on which Detection Core mode he uses.
On-Field DPS Rotation:
Team Buffs → Hold Elemental Skill → Generate Gradient Beacons → Gradient Detonation → Elemental Burst → Gradient Detonation
Holding the Skill activates Overloaded, which allows Mitya to spend Beacons through his enhanced Charged Attack. His Burst then supplies three additional Beacons for another damage sequence.
Off-Field Support Rotation:
Tap Elemental Skill → Switch to Main DPS → Trigger Stellar-Conduct → Refresh Mitya's Skill when needed
Steady State maintains his Elemental Mastery support and off-field reaction damage. His Burst can speed up Beacon generation, but it is usually unnecessary for a basic support rotation.
Mitya Constellations
| Constellation | Effect |
| C1 – The Observer Seeking What Is Missing | Raises the Beacon limit to five, adds an extra Beacon from his Skill, improves the active character's CRIT DMG, and restores Mitya's Energy. |
| C2 – The Matter That Slumbers Beyond Inertness | Reduces enemy Cryo and Electro RES by 25% and grants additional Elemental Mastery depending on his active mode. |
| C3 – The Knotted String of Invariant Topology | Increases Elemental Skill level by three. |
| C4 – The Isotopes Born of Decay | Adds an AoE Stellar-Conduct damage instance after consuming enough Gradient Beacons. |
| C5 – The Periodic Law That Orders All | Increases Normal Attack level by three. |
| C6 – Elemental Transition at the Gate of Reason | Gives consumed Beacons a chance to generate replacements and increases the team's Stellar-Conduct damage. |
C1 is attractive because its Energy restoration makes Mitya's on-field rotation easier to maintain. C2 provides stronger team utility through resistance reduction and additional Elemental Mastery, while C6 further improves his reaction damage potential.
Is Mitya Worth Pulling?
Mitya is a promising choice for players interested in Stellar-Conduct teams. His biggest advantage is flexibility. He can become the team's primary Electro damage dealer or provide Elemental Mastery and reaction support from off-field. Players who already own characters such as Odette, Cyno, or Sandrone have several potential ways to incorporate him into their rosters.
However, Mitya is not a universal support who fits every elemental team. His strongest benefits are tied to Stellar-Conduct, and his on-field build can require considerable Energy Recharge at C0. Players with limited Primogems may want to wait for post-release testing before deciding between his signature weapon, Constellations, or additional teammates.
Conclusion
Genshin Impact Mitya build offers two different approaches to Stellar-Conduct in Genshin Impact. For on-field damage, his signature Catalyst and Disenchantment in Deep Shadow are promising options, while mixed Elemental Mastery artifacts remain well competitive. Support Mitya can instead use Wandering Evenstar and Tenacity of the Millelith to strengthen his teammates.
The most important decision is choosing his role before investing in weapons and artifacts. Once Version 7.2 goes live, further testing should clarify his strongest team combinations and optimal damage rotations.
Planning to pull Mitya in Version 7.2? Visit BuffBuff for Genshin Impact top-ups and explore Genesis Crystal options to prepare for his upcoming banner.

Genshin Impact is an open world action RPG that combines exploration, character collection, and elemental combat.