Popular Games
 All Games





Delta Force Meds & booster Guide: Best Healing, Boosts & Cleanse
2026-05-26



If you play Delta Force regularly, you already know most gunfights are decided before the first bullet lands. Your med setup controls how long you can stay in the fight, how fast you can reset after trading damage, and whether you can keep tempo during rotates, breaches, and extraction pressure. This guide is built for overseas players who want a practical, no-fluff reference: what each med or injector does, where it fits in real raid scenarios, and which options give the best value in budget runs versus high-risk PvP lobbies. Use it to optimize your loadout, reduce dead time between engagements, and make cleaner clutch decisions when every second matters.
Mode-Based Recommendations
Easy Mode
Lean into budget efficiency. You can prioritize CAT Tourniquet, Tactical Quick-Use Surgical Kit, and mid-tier pain management. Overinvesting in premium injectors is usually unnecessary unless you are speed-running PvP.
Normal Mode
Use balanced kits with at least one fast reset option. This is the sweet spot where durability economy and activation timing are equally important.
Hard Mode
Do not run low-value or slow-response meds. Favor Field Med Crate, DEK, and high-impact stimulants. In Hard lobbies, bad med tempo gets punished immediately during chain fights and extraction choke points.
DEBUFF REMOVE
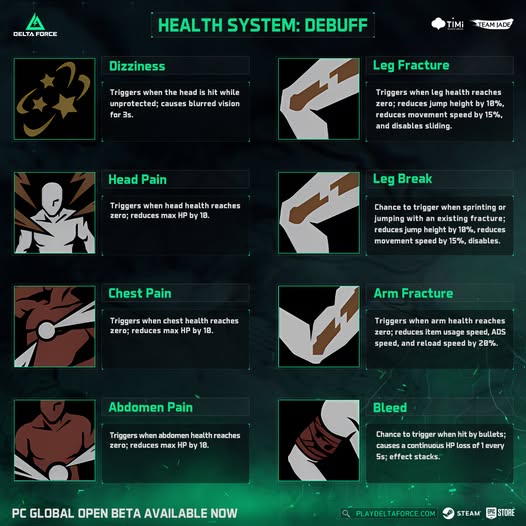
This section covers bandages, surgical kits, and painkillers. The goal is to remove combat-crippling debuffs as quickly as possible, then restore your ability to move, aim, and re-engage without wasting your team's timing window. In practical terms, prioritize items with short animation lock, reliable debuff coverage, and enough durability to handle multi-fight raids. During extended engagements, debuff control is often more important than raw HP numbers: stopping bleed chains, fracture penalties, or pain-induced accuracy loss early prevents small mistakes from snowballing into a full wipe. Build this part of your kit around speed first, then efficiency.
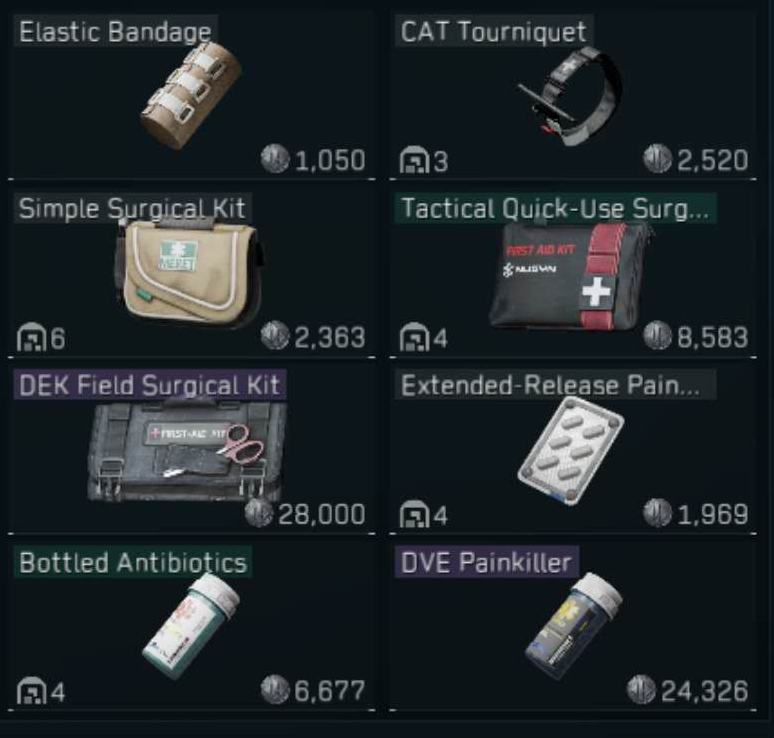
 Elastic Bandage Elastic Bandage | Heals 1 wound upon use with up to 2 uses. Activation Time: 3s. | Useless |
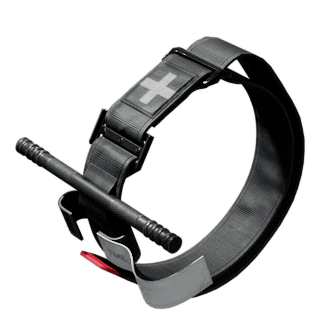 CAT Tourniquet CAT Tourniquet | Heals 1 wound upon use with up to 4 uses. Activation Time: 2.5s. | Cheap, fast, and reliable. A must-have for almost every raid loadout. |
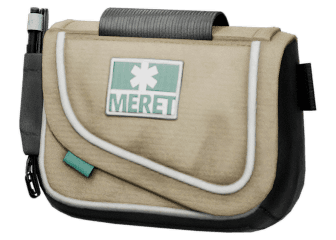 Simple Surgical Kit Simple Surgical Kit | Removes all debuffs on 1 body part with up to 2 uses. Activation Time: 10s. | Cheap but clunky. Only okay for easy lobbies; avoid in higher-skill matches. |
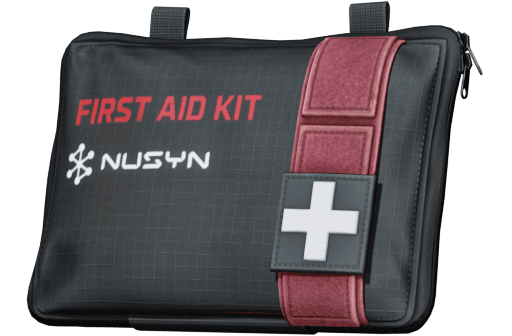 Tactical Quick-Use Surgical Kit Tactical Quick-Use Surgical Kit | Removes all debuffs on 1 body part with up to 4 uses. Activation Time: 7s. | Budget-friendly and practical. Great value for money on eco runs. |
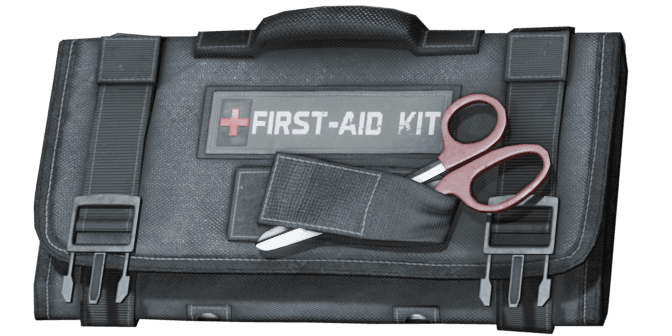 DEK Field Surgical Kit DEK Field Surgical Kit | Removes all debuffs on 1 body part with up to 7 uses. Activation Time: 5s. | Very strong but a bit pricey. Highly recommended for serious runs. |
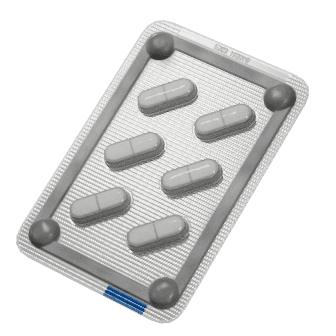 Extended-Release Painkiller Extended-Release Painkiller | Relieves pain for 200s and removes the visual interference from pain and fractures. Up to 1 use. Use Time: 4s. | Cheap, but low charges and short uptime. |
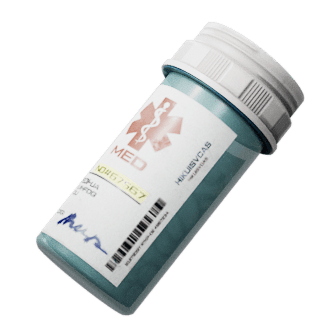 Bottled Antibiotics Bottled Antibiotics | Relieves pain for 240s and removes the visual interference from pain and fractures. Up to 3 uses. Use Time: 4s. | Mid-tier price, mid-tier charges, mid-tier duration. Balanced pick. |
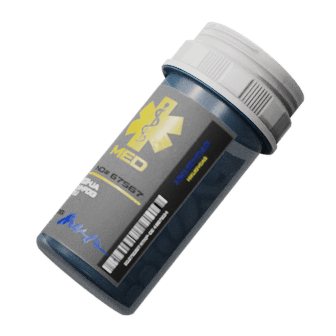 DVE Painkiller DVE Painkiller | Relieves pain for 360s and removes the visual interference from pain and fractures. Up to 5 uses. Use Time: 3s. | Slightly expensive, but high charges and long uptime. |
Health recovery
Here we compare med kits by durability pool, HP recovery rate, and use animation time, so you can pick the right sustain option for your budget and lobby intensity. A high-durability kit gives long-run value across multiple trades, while high heal-per-second tools are better when you must reset and peek again immediately. Consider your expected fight cadence: in slow, positional raids, total durability and cost efficiency matter more; in aggressive PvP lobbies, short use time and burst recovery are usually the deciding factors. Also account for inventory footprint and teammate support, because compact healing setups can preserve space for ammo, loot, and mission items without sacrificing survivability.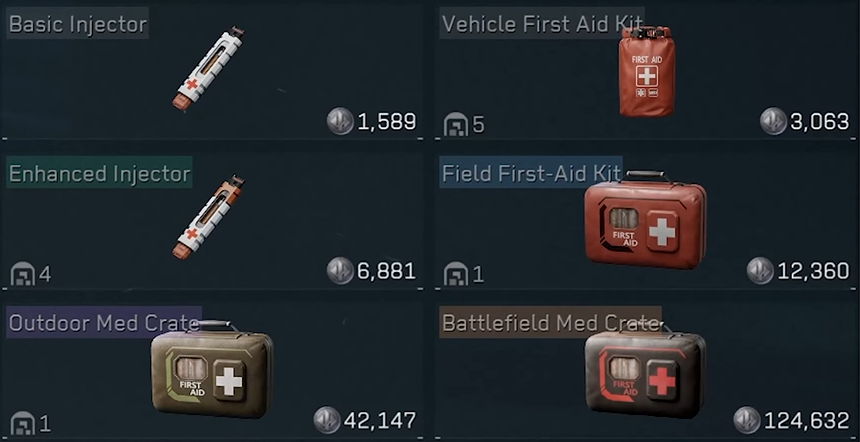
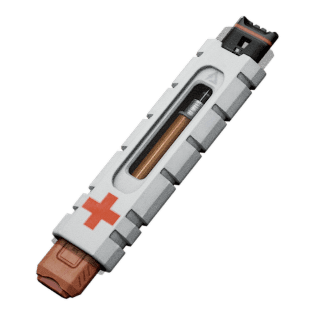 Basic Injector Basic Injector | 60 Durability. Recovers 12 HP per second. Activation Time: 3s. | Low impact overall; durability pool is too small. |
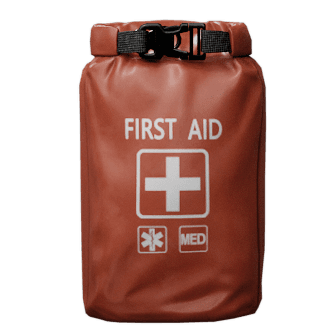 Vehicle First Aid Kit Vehicle First Aid Kit | 90 Durability. Recovers 6 HP per second. Activation Time: 5s. | Worst option in slot. Do not run it; use time is way too long. |
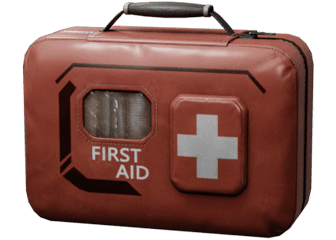 Field First Aid Kit Field First Aid Kit | 220 Durability. Recovers 20 HP per second. Activation Time: 6s. | Cheap and usable, but the animation time is on the long side. |
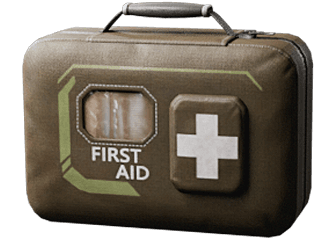 Outdoor Med Crate Outdoor Med Crate | 350 Durability. Recovers 20 HP per second. Activation Time: 4s. Heals 1 wound or relieves pain for 30s by consuming 25 Durability. | Poor value: expensive, burns durability quickly, and not ideal for hard mode. |
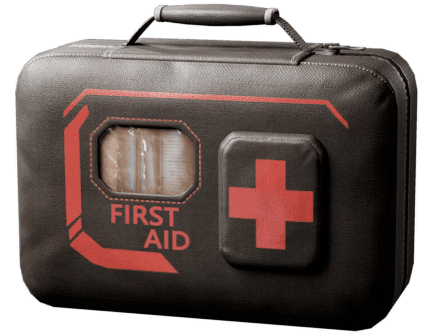 BattleField Med Crate BattleField Med Crate | 800 Durability. Recovers 30 HP per second. Activation Time: 3.5s. Heals 1 wound or relieves pain for 60s by consuming 25 Durability. | Most complete all-round med crate. Expensive, but top-tier for aggressive push comps. |
Boost Injectors (Buff Stims)
This section summarizes hearing, stamina, and carry-weight stims. These buffs are strongest before a hard push, fast rotate, or high-pressure duel. Unlike standard healing, injectors are tempo multipliers: when timed well, they let you take first contact with better information, cleaner movement, and stronger follow-through after the first knock. Treat stims as phase tools, not panic buttons. Pre-fight activation helps entry timing, mid-fight activation supports reposition and chase pressure, and late-raid activation secures extraction routes when fatigue and carry weight start limiting mobility. If your economy is tight, reserve premium stims for high-value maps, contested objectives, or coordinated squad pushes where the buff window can be converted into a real tactical advantage.
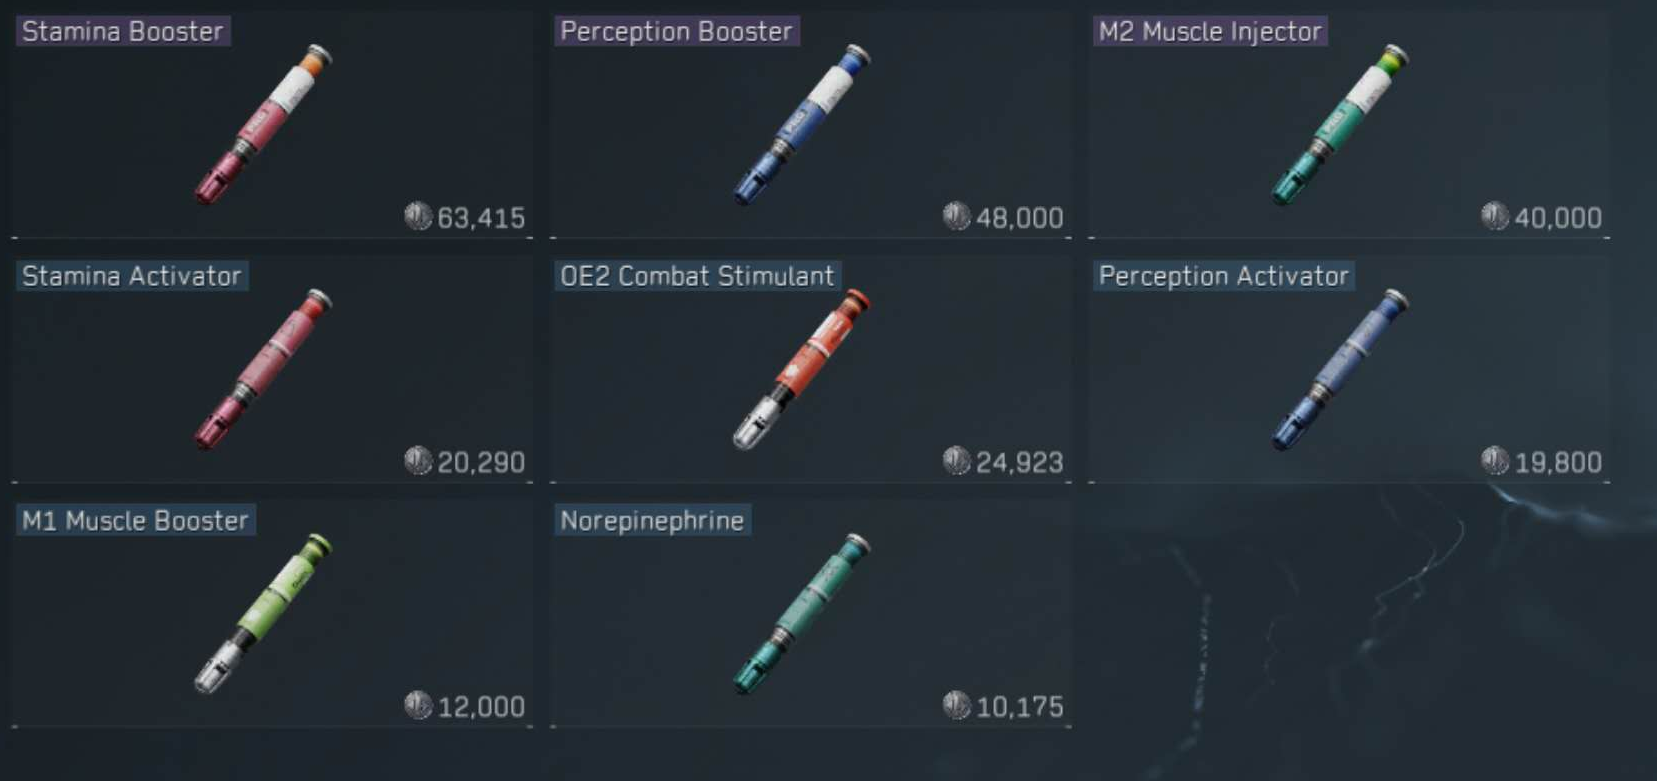
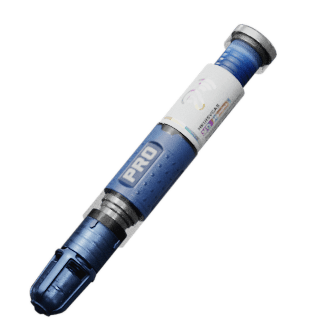 Perception Booster Perception Booster | Boosts Hearing Range for 300s. | Upgraded version with longer buff uptime. |
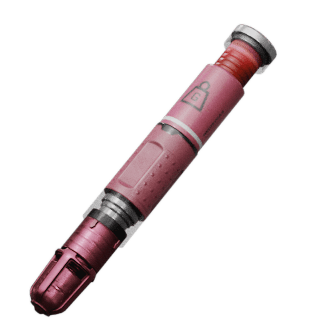 Stamina Activator Stamina Activator | Increases Max Stamina and Stamina Recovery Speed for 180s. | Great for short skirmishes and faster tempo plays. |
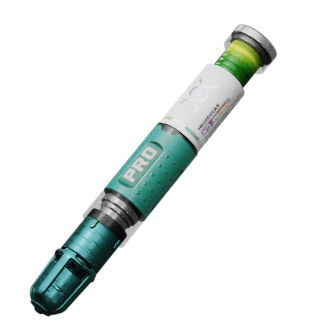 M2 Muscle Injector M2 Muscle Injector | Increases Load Capacity for 300s. | Upgraded version with longer buff uptime. |
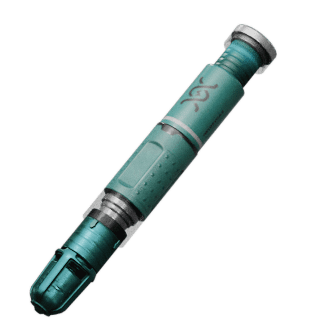 Norepinephrine Norepinephrine | An injector that can effectively enhance muscular endurance and increase max stamina for 120s. | Cheap, but the max stamina bonus is limited, so real match impact is average. |
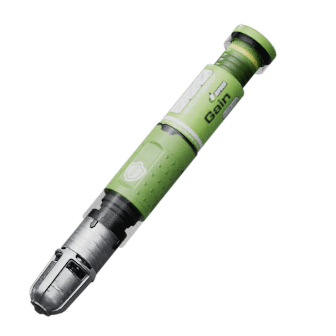 M1 Muscle Booster M1 Muscle Booster | Increases Load Capacity for 180s. | Best when running heavy armor/helmets or after looting overweight. |
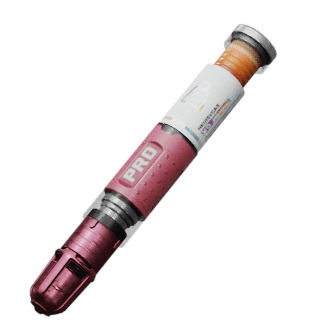 Stamina Booster Stamina Booster | Increases Max Stamina and Stamina Recovery Speed for 300s. | Very practical but expensive; best for hard entry and aggressive fights. |
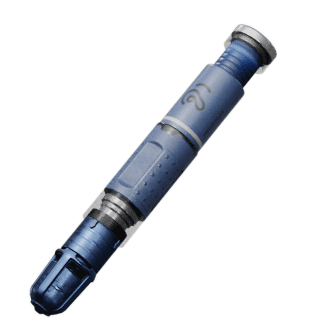 Perception Activator Perception Activator | Boosts Hearing Range for 180s. | Great for info play, map control, and reading enemy rotations. |
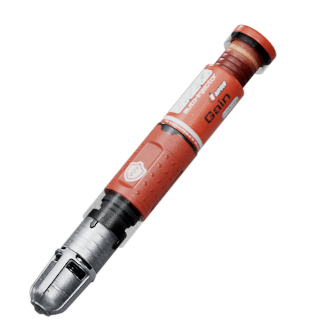 OE2 Combat Stimulant OE2 Combat Stimulant | A single-dose injector used in emergencies to quickly recover significant stamina. | Massive stamina recovery in a short window. Excellent for clutch timing plays. |
Injector Timing
Use injectors by fight phase, not randomly. Proper timing gives better value than overstacking expensive consumables.
- Pre-fight pop: Activate stamina or perception tools before entering high-contact zones.
- Mid-fight reset: Use fast tools after first trade to recover and re-peek with tempo.
- Post-fight stabilization: Heal and clear debuffs before looting to avoid third-party punish.
- Extraction sprint: Save at least one stamina option for final rotation and exfil pressure.
FAQ
Quick answers for common community questions when choosing a stable med setup.
What is the best all-around med item?
Field Med Crate is the most complete option for sustained raids and aggressive tempo play.
Which injector is best for fast fights?
OE2 Combat Stimulant and Stamina Booster are strong picks when fights are decided in short windows.
What is the best budget setup?
CAT Tourniquet + Tactical Quick-Use Surgical Kit + Bottled Antibiotics remains a strong low-cost combination.
Do I need premium meds in Easy mode?
Usually no. Budget kits are enough unless your plan is full PvP rush every raid.
Conclusion
Strong raids come from strong recovery loops. In most matches, a stable core of efficient healing plus reliable surgical utility gives you the best consistency and survival rate. When you plan to hard contest hot areas, layer in premium boost injectors to win entry timing, faster re-peeks, and late-fight stamina control. The best players do not lock one static med build; they adapt by map flow, economy, team role, and extraction route. Review your consumable choices after each session, cut low-impact items, and keep only tools that actively improve uptime and fight conversion. Do that consistently, and your raid efficiency, clutch rate, and long-term progression will improve match after match.

Delta Force is a tactical military shooter game that combines extraction raids with large multiplayer battles.